Social Media Image Sizes: Stop Awkward Auto-Cropping
You picked the perfect avatar, then the platform cropped it into half a face. You designed a beautiful cover, and the feed only shows a thin slice of it. The fix is simple: pre-crop to the platform's display ratio. This tutorial shows you how to do it locally with Web PSEditor, so what you crop is exactly what gets displayed.
Why Platforms Crop Your Image
Every social platform renders images inside a fixed container. Your file is never shown at its own aspect ratio. The platform either letterboxes it (adds bars), stretches it (rare, only on badly built sites), or crops it to fill. Cropping is the default because it looks tidier in a feed, and it is exactly where your composition dies.
The trap is the preview. When you attach a file, most apps show a thumbnail that roughly matches the final render, but the crop is applied by a rule you cannot see: sometimes it centres, sometimes it anchors to the top, sometimes it favours the region with the most edge detail. Two photos with identical dimensions can end up cropped differently. That is why guessing from the preview keeps failing and why the only reliable method is to hand the platform a file that is already the right ratio. If there is nothing to crop, nothing gets cropped badly.
Quick Size Reference
Avatars & square feed posts: 1:1 (800×800 px or larger); page covers: roughly 16:9 (commonly 1200×628); stories & short-video covers: 9:16. Pre-cropping to these ratios keeps platforms from cutting randomly.
Below are the placements most people actually need. Treat the pixel numbers as a safe export size rather than a rule the platform enforces. The ratio is what must match, and the pixel size just has to be big enough that the platform never has to upscale.
| Placement | Ratio | Safe export size |
|---|---|---|
| Avatar / square feed post | 1:1 | 1080 × 1080 |
| Portrait feed post | 4:5 | 1080 × 1350 |
| Link preview card | 1.91:1 | 1200 × 630 |
| Profile header / banner | 3:1 | 1500 × 500 |
| Story / short-video cover | 9:16 | 1080 × 1920 |
| Video thumbnail | 16:9 | 1280 × 720 |
| WeChat article cover | 2.35:1 | 900 × 383 |
Ratios drift. When a platform reshapes its feed or banner, a file exported at the old ratio gets cropped again on the way in. Export at the right ratio first and keep the editable original, and re-cutting takes seconds instead of a re-shoot.
The Two Crops You Need Most
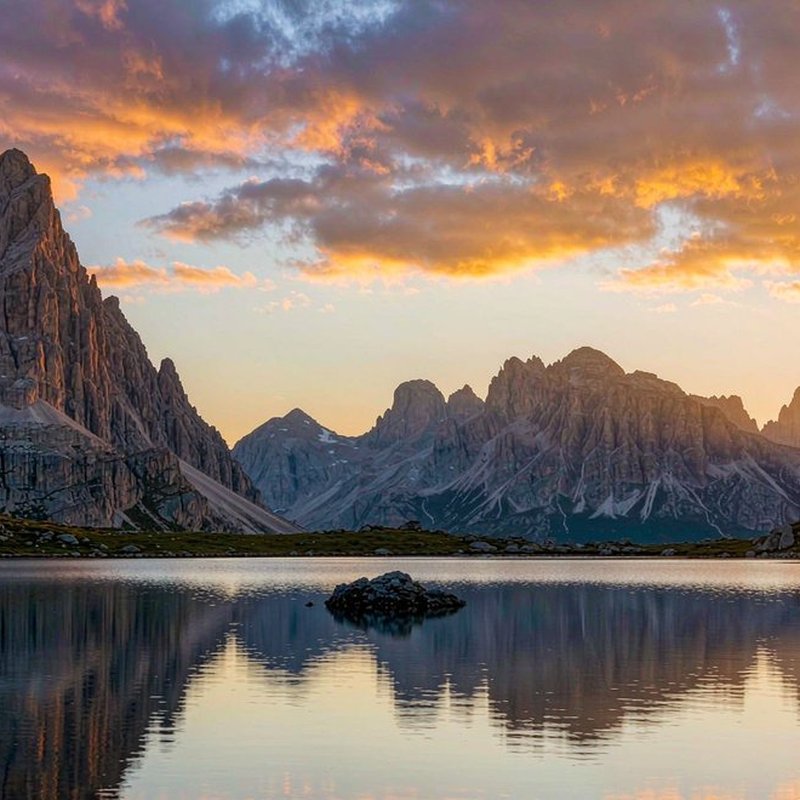
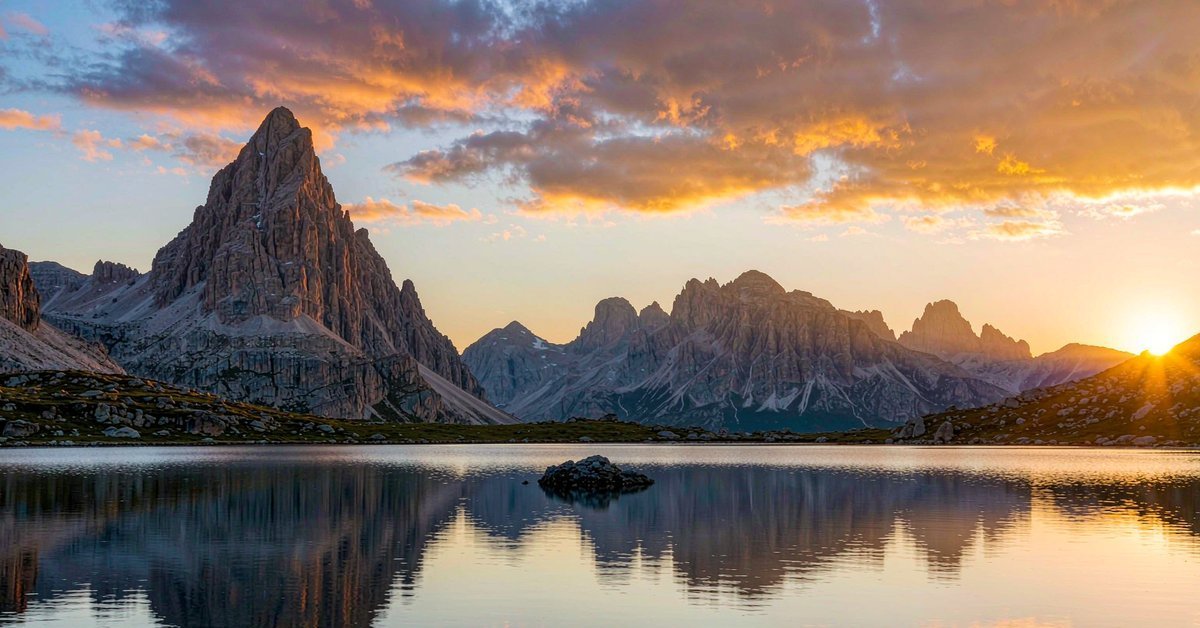
Mind the Safe Zone
Matching the ratio is only half the job. On stories and short-video covers, the interface sits on top of your artwork: the caption box and progress bar run along the bottom, and some apps add a sticker row above them. On a 1080×1920 story, that chrome occupies roughly the bottom 250 px, while a header can cover the top 120 px on a phone. Text placed there disappears on the viewer's screen while looking perfectly fine in your editor.
The same applies to profile headers. A 3:1 banner is shown full width on desktop, but the profile avatar overlaps its left edge on mobile, and the crop tightens as the screen narrows. Keep logos, faces, and any text inside the central 60% and you survive every viewport. Think of the outer band as bleed: fill it with background, texture, or blurred photo, never with information.
Step-by-Step in the Editor
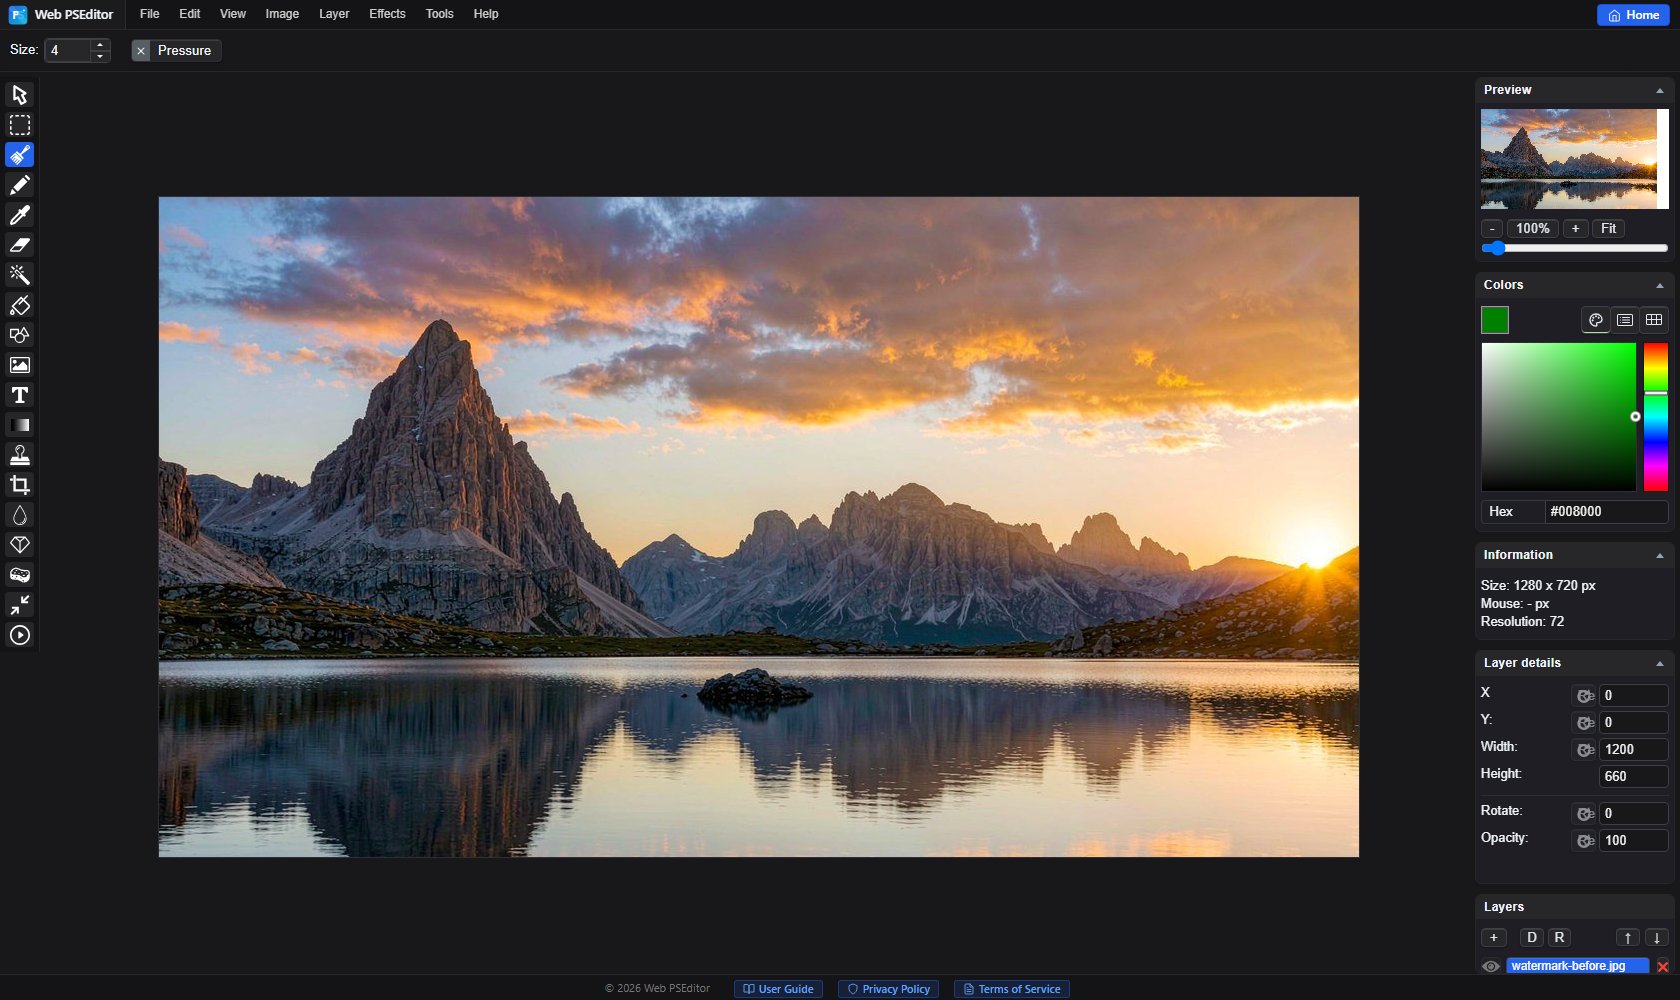
Open your photo and pick the Crop tool in the left toolbar. It crops freely: there is no ratio preset built into it, and the one modifier it does have (hold Ctrl or Cmd while dragging) locks the crop to the picture's current ratio, which is no help when that ratio is exactly what you are trying to change. So work in two passes. Drag a crop that is roughly the target shape and confirm it, then type the exact frame into Image → Canvas Size — 1080 by 1080 for an avatar, Resolution left on Custom. The canvas becomes those pixels and the image keeps its scale, so anything outside the new frame is cut away rather than squeezed. Keep the subject centered or on a third line so it survives that second trim. Do not try to fit the whole frame in. Crop for the placement you are filling, not for the file you happen to have. If the subject's head or a product edge lands on the boundary, pull back slightly: platforms sometimes shave a few pixels when rounding to their render grid.
A 4000 px phone photo is more resolution than any feed uses, and dragging crop handles around a canvas that large is slow. Open Image → Resize and enter one dimension (e.g. 1080 in Width) — the height is calculated from the original ratio, so the frame cannot distort, and the Sharpen toggle is worth enabling because a downscale of more than half softens edges. Do this before the crop in Step 1 if the original is over about 3000 px, then set the exact frame with Canvas Size as described there. Downscaling is safe and even improves quality after platform compression; upscaling never adds detail, so if the number you need is larger than the original, shoot or source a bigger file instead of enlarging.
File → Export as JPG (quality 85+). Check the live display after uploading and fine-tune the crop if needed. Export one file per placement and name them by intent (avatar-1x1, cover-3x1). The next time a platform changes its layout you will not have to reverse-engineer which file was which.
Resolution, DPI, and File Size
Three numbers get mixed up constantly, and only one of them matters:
- Pixel dimensions decide how much detail is in the file. This is the number that makes an image look sharp, and it is the one you set in Resize.
- DPI only tells a printer how to space dots on paper. On screen it changes nothing. Exporting "300 DPI" from a 600 px file still gives you 600 px, just with a different embedded label.
- File size is what the upload limit cares about. A quality-85 JPEG of a 1080 px photo usually lands between 150 KB and 400 KB, well under every common limit.
Where sharpness is genuinely lost is double compression. Every platform re-encodes your upload, so a file already saved at quality 60 and then re-compressed at 80 accumulates blocking artefacts. Export once at high quality, let the platform do its single pass, and stop re-saving the result. Screenshotting a preview and re-uploading that screenshot is the most common way people destroy their own image quality. If you are fighting a size limit at the same time, see Resize & Compress Images for Upload Limits.
For flat graphics such as a cover with a solid background or a logo avatar, PNG avoids the smearing JPEG applies to hard edges, and the file stays small because there are few colours. For photographs, JPEG wins every time on size. When a platform accepts WebP, it typically gives you the same visual quality at a third of the bytes, but always keep a JPEG fallback: not every upload dialog accepts it. The trade-offs are compared in PNG vs JPG.
Five Mistakes That Ruin a Correct Crop
- Upscaling a small source. A 400 px avatar stretched to 1080 px is soft before the platform ever touches it, so start from the largest original you have.
- One file for every platform. A 1:1 square forced into a 9:16 story loses most of its width. One export per placement costs seconds when processing is local.
- Ignoring the mobile crop. Desktop previews lie about headers and banners, so check the phone view before you publish.
- Putting text on the edge. Anything inside the outer band of a story or banner can be covered by interface chrome.
- Trusting the attach preview. It approximates the result. Trust the ratio you exported instead.
Quick Answers
What size should a profile photo be?
Upload at least 400×400 px, and 1080×1080 if you have it. Most platforms display avatars as a circle inside a square, so keep the face or logo inside the central area and let the corners be background. Anything below 200×200 px is upscaled by the platform and turns soft.
Why does my cover image look blurry after upload?
Two causes, both fixable before upload. Either the source was smaller than the display size and got upscaled, or it was saved at low quality and then re-compressed by the platform. Export at the full display size and quality 85 or higher, and never re-save a downloaded preview.
Do I need to export at 300 DPI for social media?
No. DPI only tells a printer how to space dots on paper; screens read pixel dimensions. A 1080×1080 file is 1080×1080 whether it is tagged 72 or 300 DPI. Set the pixel size and ignore the DPI field.
Can I use one image for a feed post and a story?
Not well. A feed post is 1:1 or 4:5, a story is 9:16. Forcing one file into both means either bars or a heavy crop. Crop two versions from the same original; each takes seconds when the processing runs locally, and the composition survives intact.
Which format should I upload, JPEG or PNG?
JPEG for photographs at quality 85 or higher. PNG for flat graphics with text, logos, or a solid background, where JPEG would smear the edges. Most platforms re-encode everything to their own format anyway, so the goal is simply to avoid losing detail before they do.
Related Tutorials
Crop one photo into a 1080×1080 avatar and a 1500×500 banner in two passes, then compare them against the table above.