Crop, Rotate & Straighten Tilted Photos
A horizon off by 2 degrees makes the whole photo feel like it's falling over; a trash can at the frame edge ruins the best landscape. Before you delete it — crop, rotate and straighten can rescue tilted photos in three steps, all locally with Web PSEditor.
Why a Two-Degree Tilt Feels Wrong
Your eye does not measure angle, it measures reference. Water, a horizon, a wall, a table edge — anything the brain knows should be level becomes the baseline, and every other line is judged against it. That is why 2° of tilt on a seascape is unbearable while the same 2° on a portrait of someone leaning is invisible: one has a reference, the other does not.
Phone cameras make this worse. You shoot with your arms out, tilted slightly toward the subject, and the phone only records which way up it was held — an orientation tag that gets applied automatically, not a correction for the small lean of your body. The result is a frame that looks fine on a 5-inch screen and leans the moment it fills a monitor. Handheld shots commonly land between 1° and 5° off; anything above that usually means you were turning while pressing the shutter.
There is a second problem rotation cannot solve: converging verticals. Tilt the camera upward to fit a building into the frame and its vertical lines lean inward toward the top. No rotation squares them, because the distortion is perspective — each line leans by a different amount, more at the top than at the base. Straightening fixes the horizon; the verticals would need a perspective or keystone correction, which this editor does not do. When a photo has both, level the horizon, accept the remaining lean, and crop tighter on the base of the building where the convergence is least visible.
The Result: Before vs After
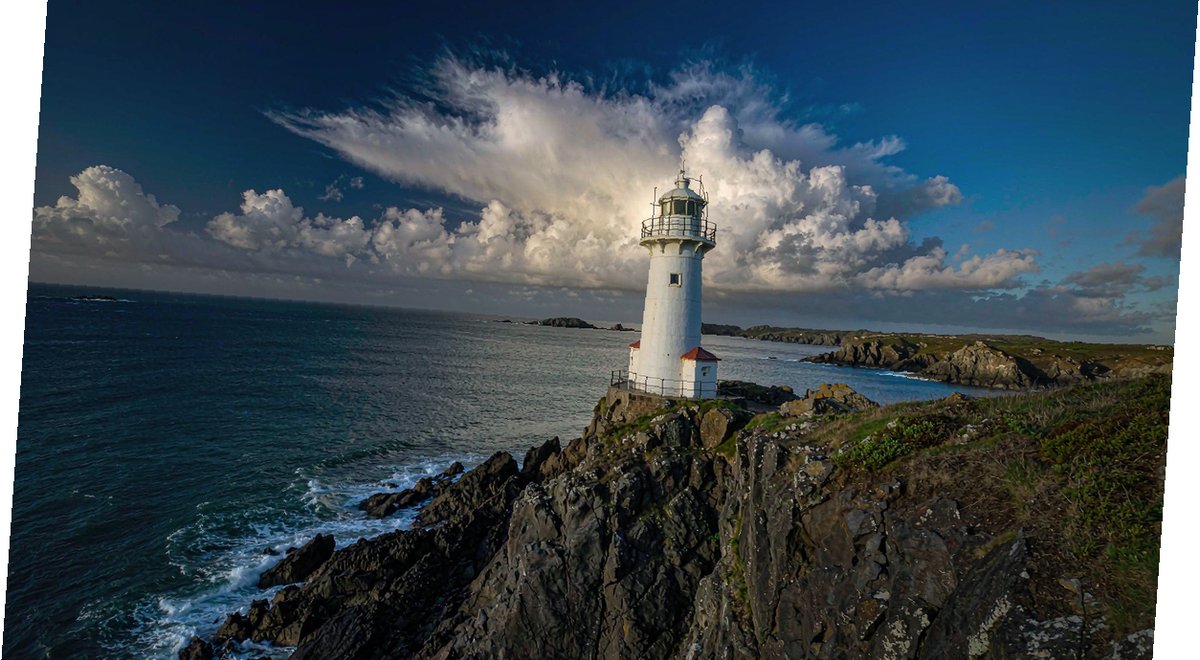

Three Fixes, In the Right Order
Three different tools get called "rotating", and using them in the wrong order is why people end up with a soft, tightly cropped file after five minutes of work. Separate them once and the whole job takes under a minute:
- Quarter turns — exactly 90°, 180° or 270°. Use this when the photo is sideways or upside down. It rotates pixel rows without interpolation, so it costs nothing in quality.
- Angle correction — any value in between, typically 1–6°. This is the tool for a leaning horizon. It resamples the image once, which is fine at a single pass and corrosive if repeated.
- Crop — removes the empty corners that angle correction creates, and fixes composition at the same time. Always last.
The rule that follows: correct the coarse error first, the fine error second, the framing third. Rotating 90° after you have already angled and cropped re-bakes the whole image for no reason.
How to Fix It
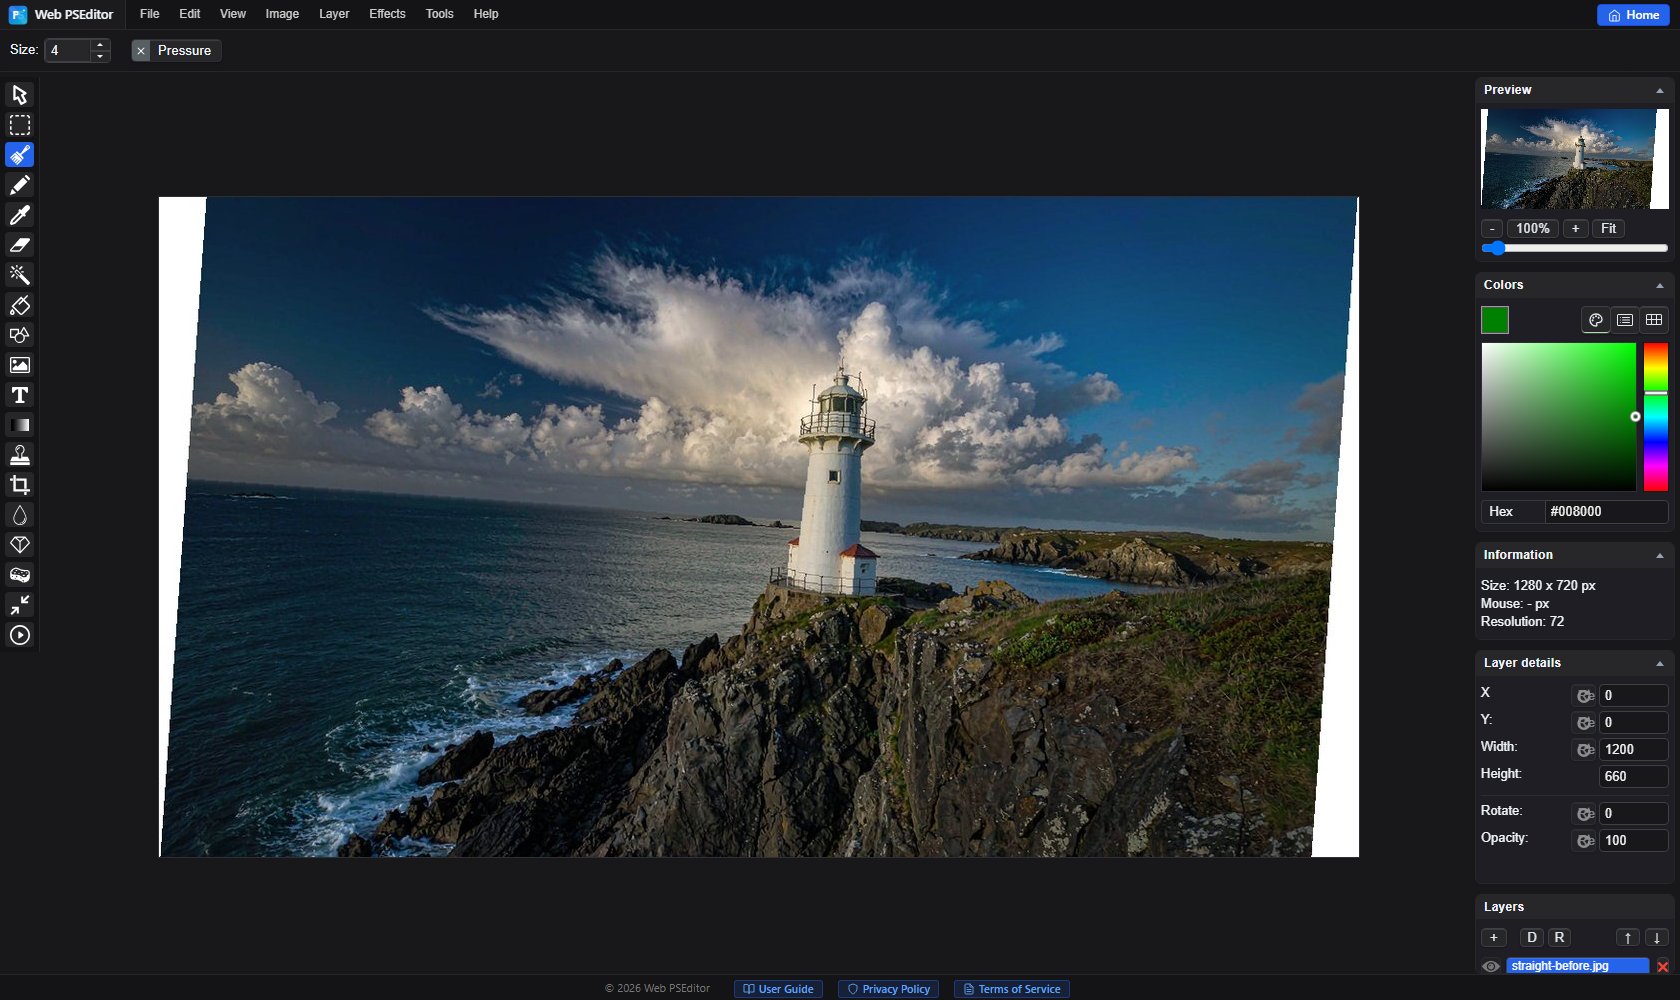
Open the photo and choose Image → Rotate. The dialog gives you two controls: a Rotate slider covering 0–360° for any tilt, and a Right angle dropdown (Custom / 0 / 90 / 180 / 270) for quarter turns — leave it on Custom, or it replaces the slider value with a multiple of 90. Our sample needs about 4° on the slider. Confirming the dialog expands the canvas so the rotated layer fits, which is exactly why empty corners appear.
Select the Crop tool, trim the empty corners along the photo content, and cut distractions at the frame edge at the same time. Putting the subject on a third line instantly looks professional. Pull the crop in just far enough that no background shows at any corner — zoom to 100% and check each one, because a single pixel of border reads as a mistake at full size.
Zoom in on building edges or the horizon. Off by 1° is invisible; off by 3° ruins everything — nudge 0.5° at a time. Judge it against the canvas edge, not against another line inside the photo, and check the corners of the frame rather than the centre, where small deviations are easiest to see.
Save via File → Export. For re-photographed documents, export JPG at quality 90 or higher to keep text crisp; for anything that will be printed or edited again, PNG avoids a second round of compression.
Quick Answers
Can I straighten a photo without knowing the exact tilt angle?
Yes, and guessing a number is the wrong approach anyway. Find an edge that should be level — a horizon, a door frame, a table edge, the top of a building — and drag the angle slider until that edge runs parallel to the canvas border. Turn on the Ruler from the View menu if you want a hard reference line instead of eyeballing it.
Does straightening lose image quality?
Any rotation that is not a multiple of 90° resamples every pixel once, and the crop afterwards removes the empty corners. A single 2–5° correction is visually free. What does damage is nudging the slider twenty times and confirming each attempt, because every confirmed rotation bakes in another resample. Decide the angle at 100% zoom, then confirm once.
Should I crop before or after rotating?
Rotate first, crop second. Cropping first throws away pixels you may still need to keep the subject intact once the frame tilts, and it leaves you cropping a second time to remove the empty corners that rotation creates. One rotation, one crop, in that order.
What Rotating Does to the Corners
When you confirm an angle correction, the canvas grows to fit the rotated layer. The photo keeps its full area, and four triangular gaps appear at the edges — filled with the background colour, or transparent if the layer has no background. How you deal with them determines the final resolution:
- Crop them away. The standard answer. You lose a strip along each edge, roughly 2% at 1° and 10% at 5°, and the remaining image is untouched. Fine for almost every photo.
- Scale up, then crop. Keeps the original framing but resamples the image a second time and softens it. Only worth it when the composition is tight and you cannot lose the edges.
- Fill them in. Clone or brush over the gaps with a nearby texture when the corner sits on sky, sand, or a plain wall. Effective for backgrounds, obvious on patterned surfaces, and never acceptable on a face or a straight architectural line.
Whichever route you take, check the corners at 100% before exporting. A thin sliver of the original white background surviving in one corner is the most common defect in straightened photos, and it is invisible at fit-to-window zoom.
Recomposing After the Fix
Straightening changes where the frame edges fall, which means it changes the composition. Two things worth doing before you export:
First, re-place the subject. A horizon that was on the middle line before rotation may now sit high or low; move the crop so it lands on a third instead, and the photo instantly looks deliberate rather than corrected. Second, sweep the edges. Rotation pulls new content into the frame — a signpost, a stranger's shoulder, a bright patch of sky — and those arrivals are what make a rescued photo look rescued. Crop until every edge is either clean or clearly intentional.
Related Tutorials
Open the editor and rescue one of your own tilted photos.