How to Add a Text Watermark to Photos Online
A watermark does not stop theft. What it does is change the calculation: a repost with your name on it advertises you, and an image with a mark across the middle is worth less to whoever scraped it. That is why placement matters more than opacity, and why a corner mark is the weakest version of the idea.
The Result: Before vs After


Step 1: Open the Editor and Load Your Image
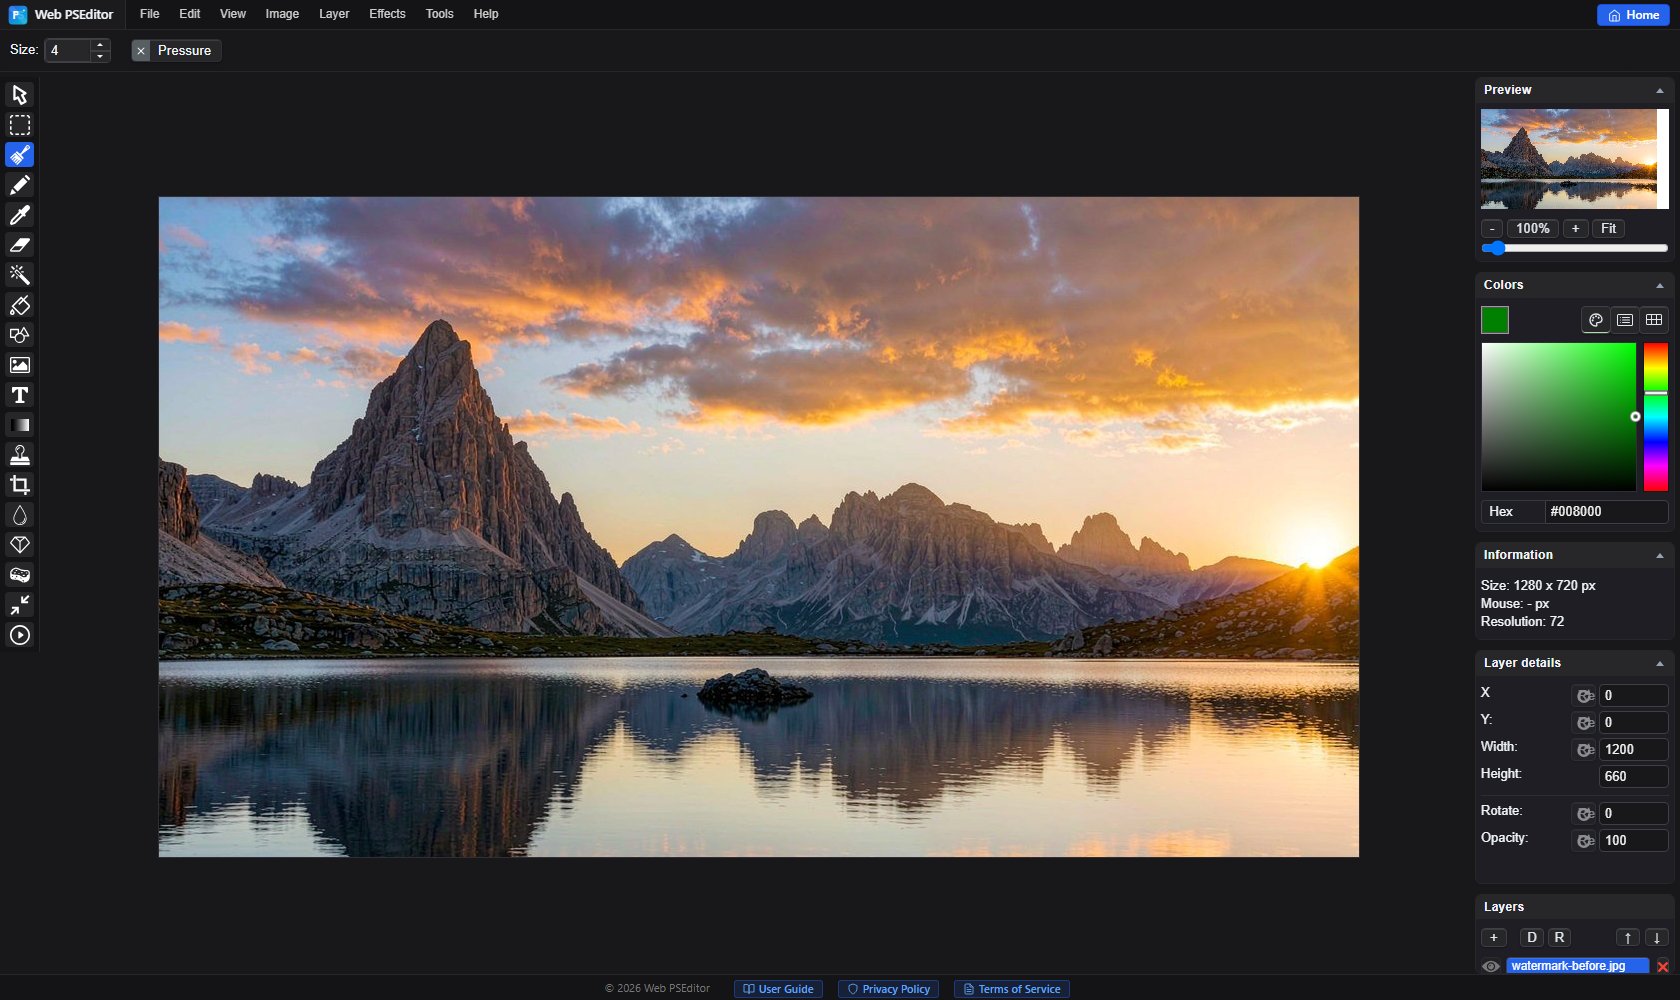
Open Web PSEditor, choose File → Open and pick the photo. The canvas and the layers panel appear on the right; every text mark you add will be its own layer there.
1. Pick the Text tool in the left toolbar and click where the mark should sit.
2. Type the text, e.g. Photo by Your Name. The tool defaults to size 40 in Arial with a green fill — change the colour to white or light grey in the text settings, and set size relative to the image: roughly 3–5% of the image width is the smallest that stays readable on a phone.
3. Set the text layer's opacity to 60–70% in the layers panel, and add a 1 px dark stroke so the text survives a bright sky.
4. To tilt it, select the text layer and open Image → Rotate. The angle field takes 0–360 only, so a −8° tilt is entered as 352. Keep the Right angle dropdown on Custom — any other value replaces your number with a multiple of 90. Confirming grows the canvas to fit the rotated layer, so crop back to the frame afterwards with the Crop tool.
One mark is one crop away from being gone. A grid makes removal a retouching job:
1. Build the first text layer as in Option A.
2. Select it and use Layer → Duplicate, then drag the copy to the next position. Repeat until the frame is covered — six to nine marks is enough on a landscape photo.
3. Set every mark to opacity 30–40%. Lower than that and the grid disappears over busy areas, which defeats the purpose.
4. Keep the spacing even. Duplicating and dragging by eye drifts; pick a spacing in pixels (say 250 px diagonal) and move each copy by that amount so the rows line up.
Use File → Export: JPG at quality 85 or higher for web and product shots, PNG when you need transparency preserved. The watermark is merged into the exported pixels — but the project file keeps it as an editable layer, which is why you should keep the layered version and export a separate copy to publish.
Where to Place It
Placement is the whole game, because the first thing anyone does with a stolen image is reframe it. Three rules cover most cases:
- Inside the safe area. Keep the mark at least 3% of the width away from every edge. Platforms crop a few pixels when they resize, and a mark that touches the border gets shaved off.
- Overlap something. A mark sitting on plain sky or a blank wall can be cloned out in a minute. A mark crossing a face, a product edge, or textured ground cannot be removed without leaving a scar.
- Use the diagonal. If you use two marks, put them on opposite corners of the diagonal. Cropping one off usually means cropping the subject too.
Making It Readable Without Ruining the Photo
Two failure modes, and they look opposite. The first is a watermark so faint that nobody can read it — 20% opacity white text over a pale sky is invisible on a phone and only adds haze. The second is a mark so heavy that the photo becomes a billboard for the watermark instead of the image.
The workable middle is light text with a dark stroke at 50–70% opacity. The stroke does the work the opacity cannot: white text alone vanishes against bright areas, and dark text alone vanishes in shadows, but a stroked character keeps an edge against both. Size matters more than opacity for readability — text under about 3% of the image width reads as texture, not as a name.
One practical note on tiled grids: at 30–40% opacity, a grid looks acceptable in the editor and slightly heavier after the platform re-compresses the upload, because JPEG sharpening around the text edges increases local contrast. Export a test file and look at it on a phone before applying the same settings to a whole batch.
Quick Answers
How do I keep a watermark readable without ruining the photo?
Use a light colour at 60–70% opacity and give the text a one-pixel dark stroke. White text with no stroke disappears over a bright sky, and dark text disappears into shadows, so the stroke is what keeps it legible on both. Type size matters more than opacity: text shorter than about 3% of the image width cannot be read on a phone and only adds noise.
Should the watermark go in a corner?
For personal work, yes, and keep it inside the frame by at least 3% so a platform crop does not take it. For commercial images, corners fail: anyone can crop or straighten the image and lose the mark. Two marks on opposite diagonal corners, or a tiled grid across the whole frame, cost more to remove than to reshoot.
Can someone remove a text watermark?
Yes. A text mark over a plain background can be painted out with content-aware tools in a couple of minutes. The goal is not an unremovable mark, which does not exist, but a mark whose removal damages the image. Overlapping the subject or tiling across detailed areas raises that cost, and a visible mark still deters the casual repost that most theft actually is.
Related Tutorials
Watermark one photo twice — a corner signature and a 3×3 grid — then crop both by 10% and see which mark survived.