How to Resize, Crop & Compress Images for Upload Limits
Government portals, exam forms and job applications do not ask for "a good photo". They ask for 600×800 px and under 100 KB, and reject anything else with a generic error. Two numbers, two different controls, and they interact: shrinking the pixels does most of the work, and quality decides the rest. Here is how to hit both on the first attempt.
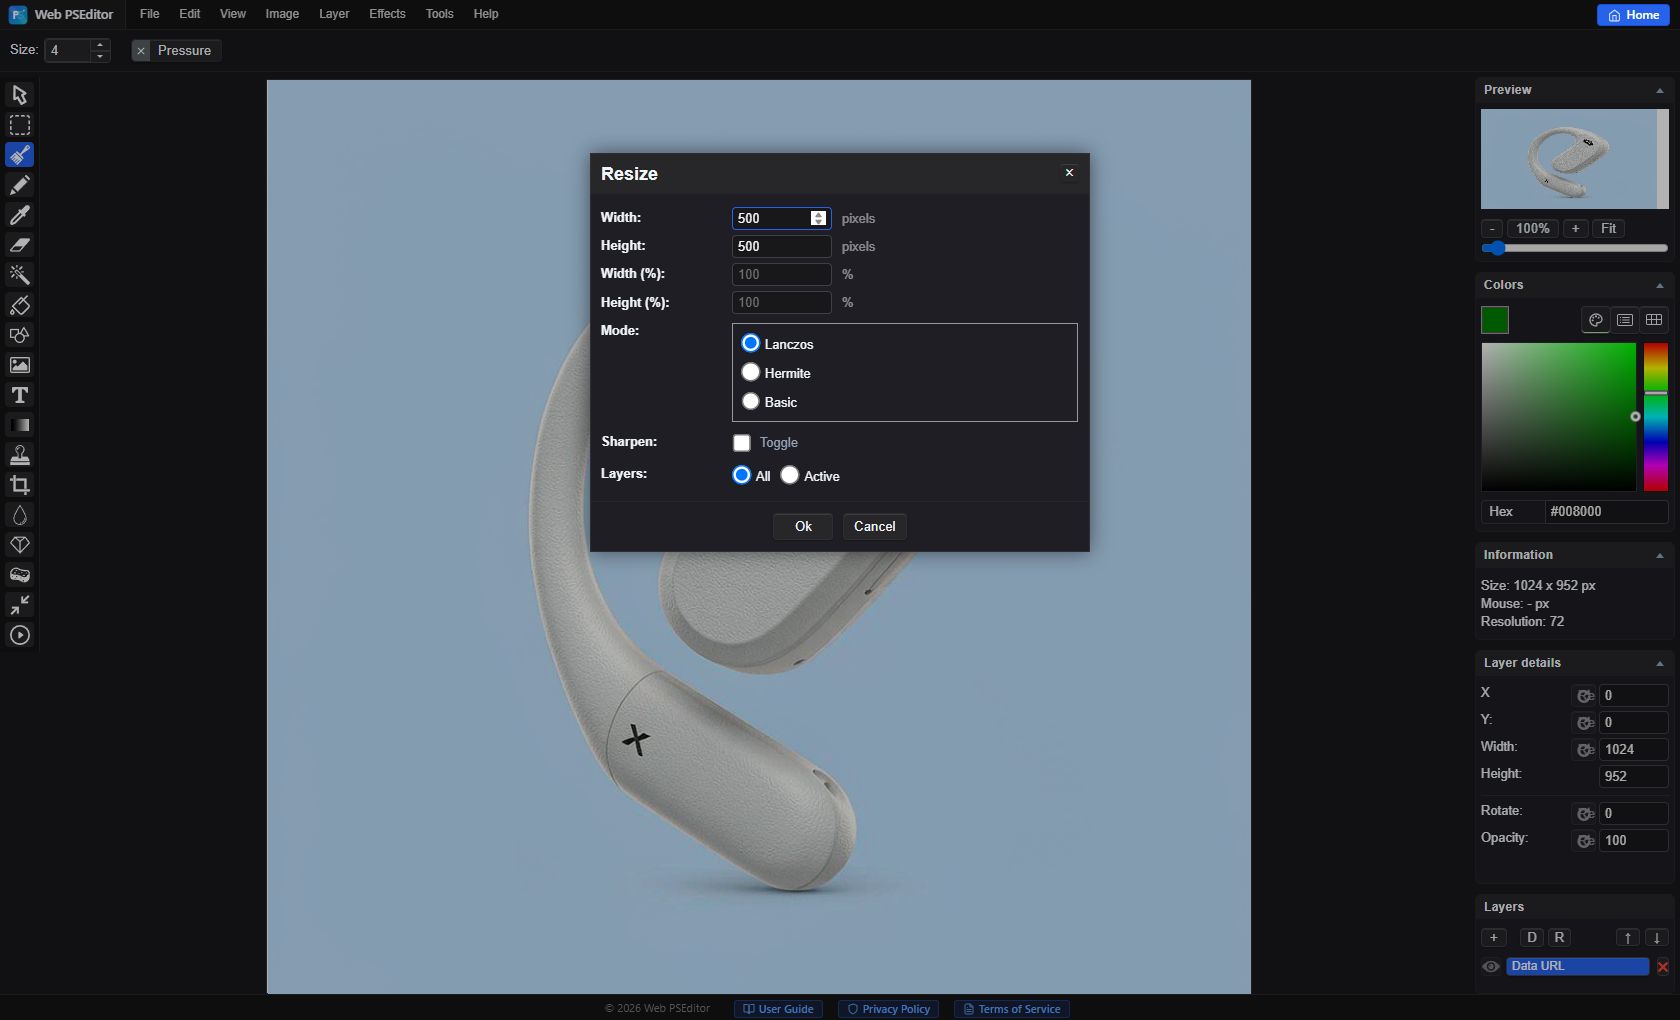
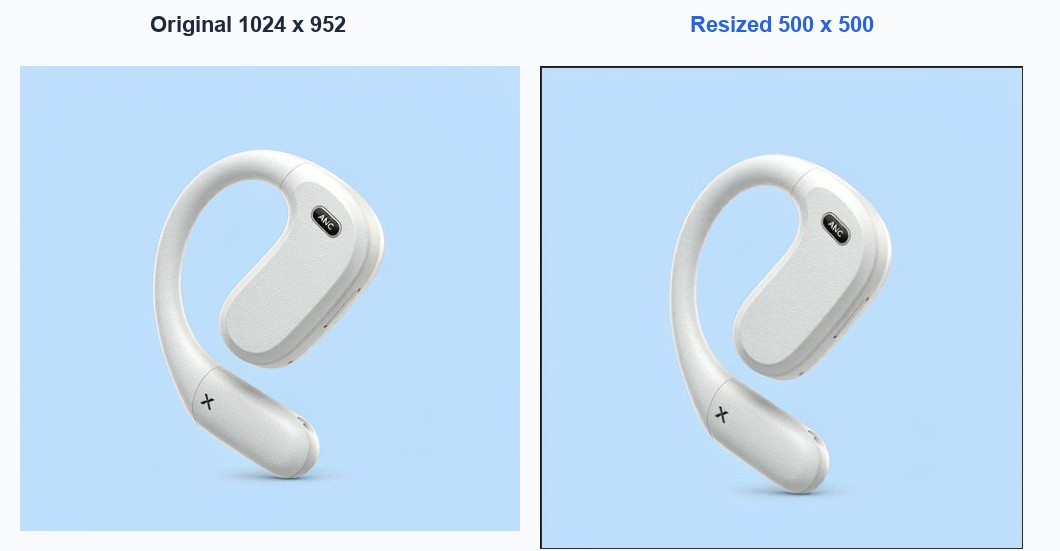
Choose Image → Resize. The dialog gives you four fields — width, height, width in percent, height in percent — plus three settings that matter. Fill in one dimension and the other is calculated from the original ratio, so the photo cannot stretch; filling both with numbers that do not match the original ratio is how people end up with a squashed portrait.
The Three Settings Inside Resize
Mode controls how the new pixels are calculated. Lanczos is the sharpest for downscaling and is the right default; Hermite is softer and slightly faster; Basic uses a simple interpolation and shows jaggies on text and hard edges. Use Lanczos unless you are resizing a screenshot where a softer result looks more natural.
Sharpen applies a light sharpening pass after the rescale. Turn it on when you shrink by more than half, because averaging pixels always softens edges; leave it off for a small adjustment, where it only adds noise. Layers: All / Active decides whether the whole canvas scales or just the selected layer — All for a normal photo, Active when you are resizing one element inside a composition.
Use File → Export and choose JPG. (File → Save As writes a JSON project file with all layers, not an image — a common source of confusion.) The dialog has a Quality slider from 1 to 100, defaulting to 90, and a Show file size option: tick it and the estimated output size updates as you drag, so you can find the highest quality that still fits the limit instead of guessing and re-exporting three times.
For a portal that only accepts classic formats, JPG is the safe choice. For your own web pages, WebP usually lands 25–35% smaller at the same visual quality, but do not send WebP to a government form — many still reject it.
Why the Size Limit Is Not Only About Pixels
File size is the product of three things: how many pixels there are, how aggressively they are compressed, and how much detail they contain. That third factor surprises people. Two images at 600×800 and quality 80 can differ by a factor of five — a portrait against a plain wall compresses to a fraction of the size of a crowd scene, because JPEG spends its bytes on detail and there is far less of it.
This is why "resize to 600×800 and it will be under 100 KB" is not a rule, it is a hope. The reliable order is: resize to the required pixels first, then adjust quality against the live file-size estimate. If quality has to drop below about 70 to fit, the image has more detail than the limit allows — crop tighter instead of crushing the compression, and the result will look better at the same byte count.
The same logic explains why repeated resizing ruins files. Each pass resamples every pixel; three passes from 4000 px to 600 px soften the image more than one pass does, because the error compounds. Always resize once, from the original.
Common Upload Requirements
| Scenario | Typical requirement | Recommended settings |
|---|---|---|
| Exam / gov portal photos | 600×800 px, under 100 KB | Resize to exact pixels, export JPG at quality 75–80 |
| E-commerce product images | 800×800 or 1000×1000 px, white background | Square crop, then resize, JPG quality 85 |
| Email attachments | Under 1–2 MB total | Longest edge 1600 px, JPG quality 80 |
| Web page images | As small as possible, still sharp | Export WebP at quality 75–85 |
- Resizing in several steps — each pass resamples the pixels again. Go from the original to the final size once.
- Enlarging a small image — upscaling invents pixels and adds blur. Reshoot or find a larger source.
- Crushing quality below 60 — blocking appears around text and hard edges. Crop instead of over-compressing.
- Typing both dimensions — if they do not match the original ratio, faces and products stretch. Enter one, let the other follow.
- Exporting without checking the estimate — the Show file size field tells you before you commit, not after the upload fails.
Quick Answers
Under 100 KB, but resizing is not enough — what next?
Lower the quality in the export dialog while watching the estimate: 80, then 75, then 70. If the image is still too large at 70, crop rather than drop further — a tighter frame at quality 78 usually beats the full frame at 55, and the artefact difference is obvious on faces. A 600–800 px photo at quality 75 normally lands well under 100 KB.
Does changing only the width keep the proportions?
Yes. Enter one dimension and the other is calculated from the original ratio, which is why the dialog has percent fields as an alternative. The only way to distort an image is to type both numbers with a ratio that differs from the source, so if the spec demands 600×800 from a square photo, crop first and then resize.
Which mode and sharpen setting should I use when downscaling?
Lanczos with Sharpen on when you cut the size by more than half, and Lanczos with Sharpen off for smaller adjustments. Hermite gives a softer, slightly faster result that suits screenshots; Basic shows jaggies on text and geometric edges, so it is rarely worth choosing.
Related Tutorials
Take one photo to 600×800 px and under 100 KB, then export at 90 and at 75 and compare the two at 100%.