How to Change an ID Photo Background Color Online
You have a white-background portrait and the form wants blue. Or the photo is blue and the visa office insists on white. Swapping the colour is a five-minute job, but the accepted file has rules beyond colour: exact pixel dimensions, a flat background with no gradient, and no fringe of the old colour around the hair. Miss any of those and the upload is rejected for a reason that has nothing to do with your face.
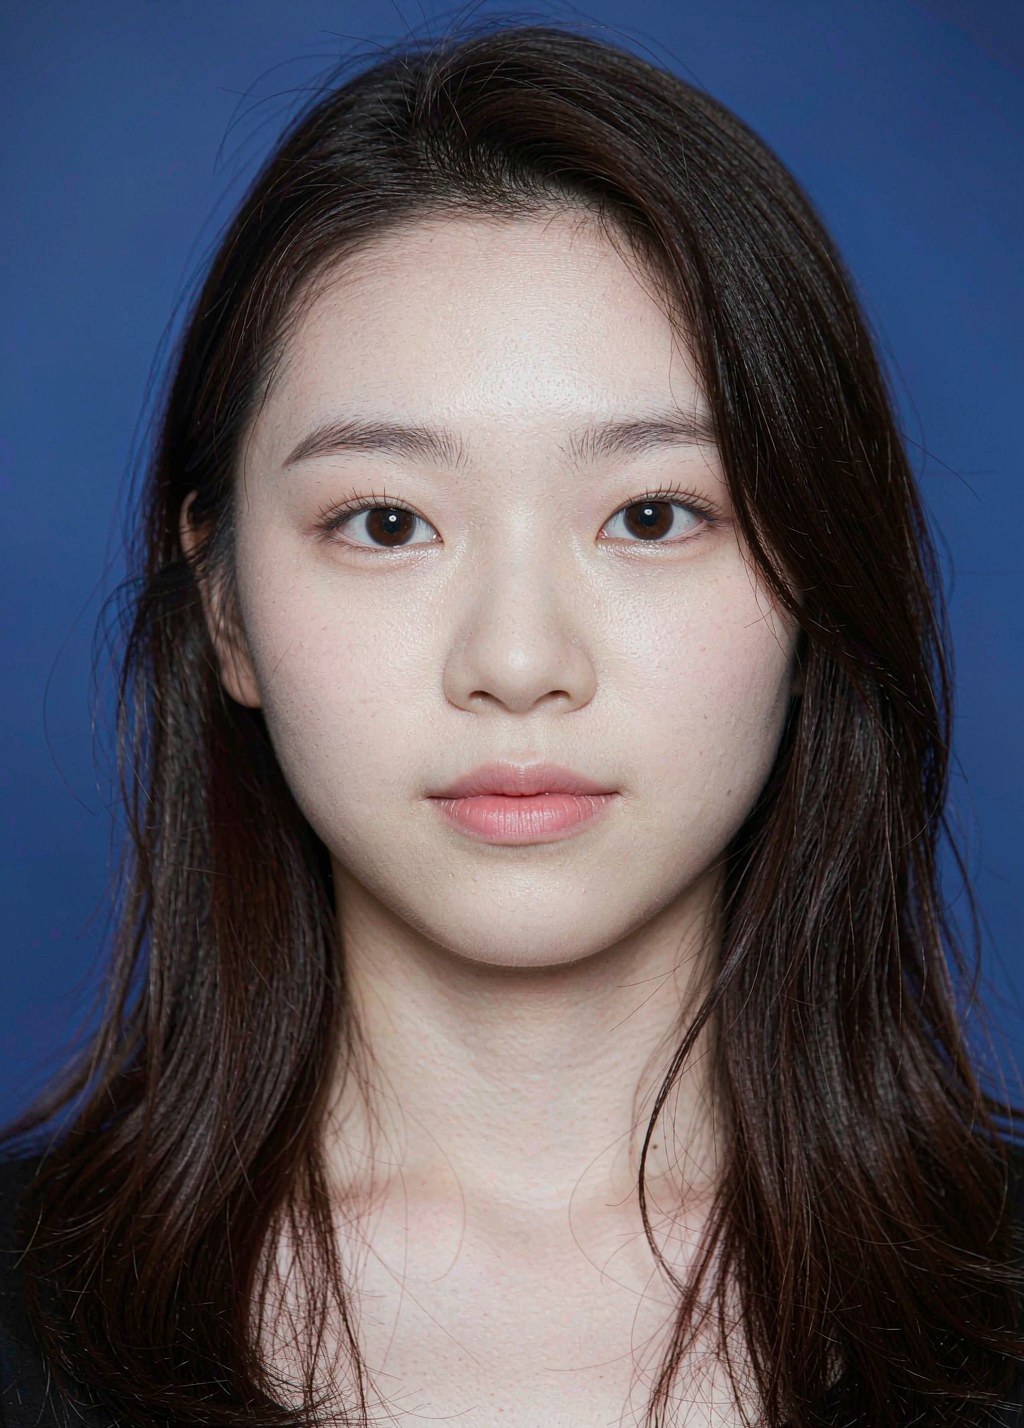
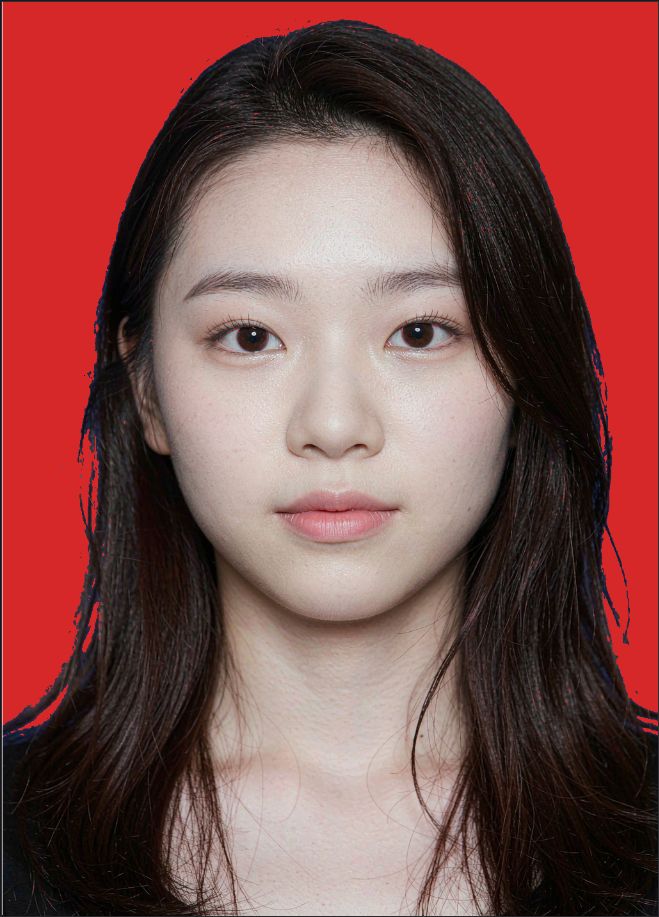
Standard ID Photo Background Colors
Use the official values rather than picking by eye. Automated checks sample the background and reject anything outside a narrow range, and a background that looks "blue enough" to you can miss it by 30 points on a channel:
- Standard blue: RGB(67, 142, 219) / hex
#438EDB— diplomas, work permits, résumés, driver's licences - Standard red: RGB(214, 40, 40) / hex
#D62828— insurance, medical records, certifications - White: RGB(255, 255, 255) / hex
#FFFFFF— passports, ID cards, visas
Two practical notes. A flat fill is required, so do not add a gradient or a vignette to "make it look natural" — the checker measures uniformity. And wear something that contrasts with the target colour: a white shirt on a white background removes the shoulder edge, and the photo reads as a floating head.
Use File → Open or drag the file onto the canvas. Confirm the photo's layer is selected in the right-hand panel — every tool below works on the selected layer.
Pick the Magic Eraser Tool in the left toolbar and click the background. It removes every pixel within tolerance of the colour you sampled, and the checkerboard confirms it worked. Keep Power low at first (15 is the default): a portrait background usually has a gentle lighting falloff, so start low and click the darker corners separately instead of raising tolerance and eating into the shoulders.
Because Contiguous is off by default, the erase is not restricted to the connected region — it clears that colour anywhere in the layer. On a portrait this matters: if the subject wears a light grey close to the background colour, a high Power will punch through the clothing. Zoom in on the shoulders before the first click and lower Power if the edge looks fragile.
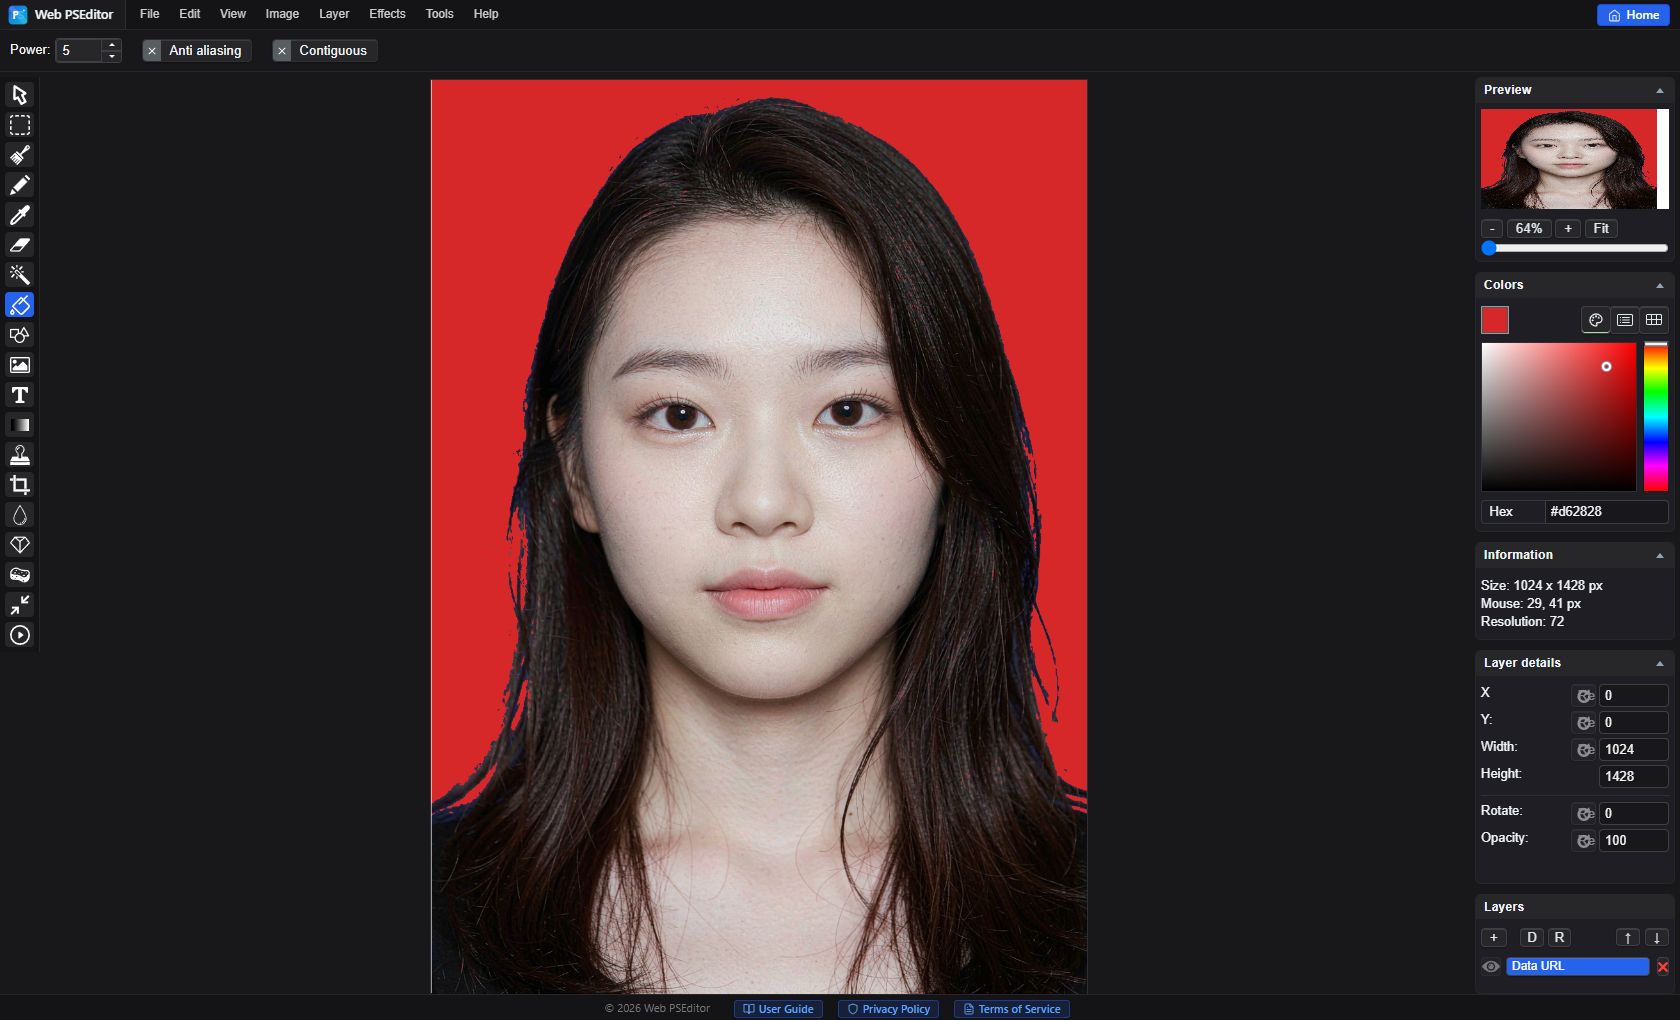
Create a layer and send it behind the subject: Layer → New, then Layer → Move → Down until it sits at the bottom. Set the colour to the exact hex value, choose the Fill Tool and click anywhere on the empty canvas — it fills the transparent area with the colour, and the subject stays on top.
Alternatively draw a filled rectangle across the whole canvas with the Shape tool. Either way, check the result at the edges: a margin of old background that the eraser missed now shows as a stripe of the wrong colour, which is far more visible against a flat new fill than it was against the original.
This editor has no feather command, so there is no slider that softens the boundary for you. What works instead: leave anti-aliasing on in the Magic Eraser (it softens the edge by a pixel), then drop Power to 10–12 and click the fringe around the hair once more. If a pale halo survives, switch to the Eraser at a small brush size and work along the outline at 200% zoom.
Most systems ask for 295 × 413 px (25 × 35 mm) or 413 × 579 px (35 × 49 mm), both at 300 DPI. Use Image → Resize: enter the width, and the height follows the original ratio. If the ratio does not match the spec exactly, crop first with the Crop tool so the face keeps the right proportions instead of being stretched.
Use File → Export and choose JPG at quality 90 or higher. JPG is what the submission systems expect, and because the background is now a solid layer, there is no transparency to lose. Exporting PNG is fine for your own archive but wastes bytes and occasionally trips uploaders that reject anything that is not JPEG.
- Hunting for a feather setting — there is no Selection → Feather in this editor. Softening the edge means anti-aliasing plus a low-Power second pass, then the Eraser.
- Erasing the background after flattening — if the photo has been merged onto a white layer, the eraser has nothing transparent to reveal. Keep the photo as its own layer.
- Non-standard colour values — exam and visa systems compare against the official values. Use the hex codes above instead of picking by eye.
- Forgetting the size check — a perfect background at the wrong pixel size is rejected before anyone looks at it.
Quick Answers
How long does a background swap actually take?
About two minutes for a clean studio portrait on a flat background, and closer to ten when the hair is flyaway or the original background has a gradient, because the edge needs manual work with the Eraser. The resize and export steps take seconds. Budget the time for the edge, not for the fill.
Can I swap the background without touching the hair?
Not perfectly. The Magic Eraser works on colour, and hair pixels are a blend of hair and background, so some transition is unavoidable. Keeping Power low and anti-aliasing on gives a natural edge; for wispy hair, a small Eraser pass at 200% zoom is what separates an acceptable photo from one that looks cut out with scissors.
Which size and DPI should I export?
295 × 413 px for a one-inch photo and 413 × 579 px for a two-inch photo, both corresponding to 300 DPI at 25 × 35 mm and 35 × 49 mm. Set the pixels in Image → Resize and ignore the DPI field — submission systems check pixel dimensions, and DPI is only a print instruction.
Related Tutorials
Take one portrait, produce a blue and a white version at 295 × 413 px, then compare the hair edge at 200% zoom.