How to Extract a Handwritten Signature to a Transparent PNG
A signature on paper is a photo of a photo: white paper that is not white, a lens shadow at one corner, and a slight yellow cast from indoor light. Paste that onto a contract and it reads as a grey rectangle with a scribble on it. The fix is a four-step pass — desaturate, push the paper to pure white, erase the paper, export PNG — and the order matters, because each step makes the next one cleaner.
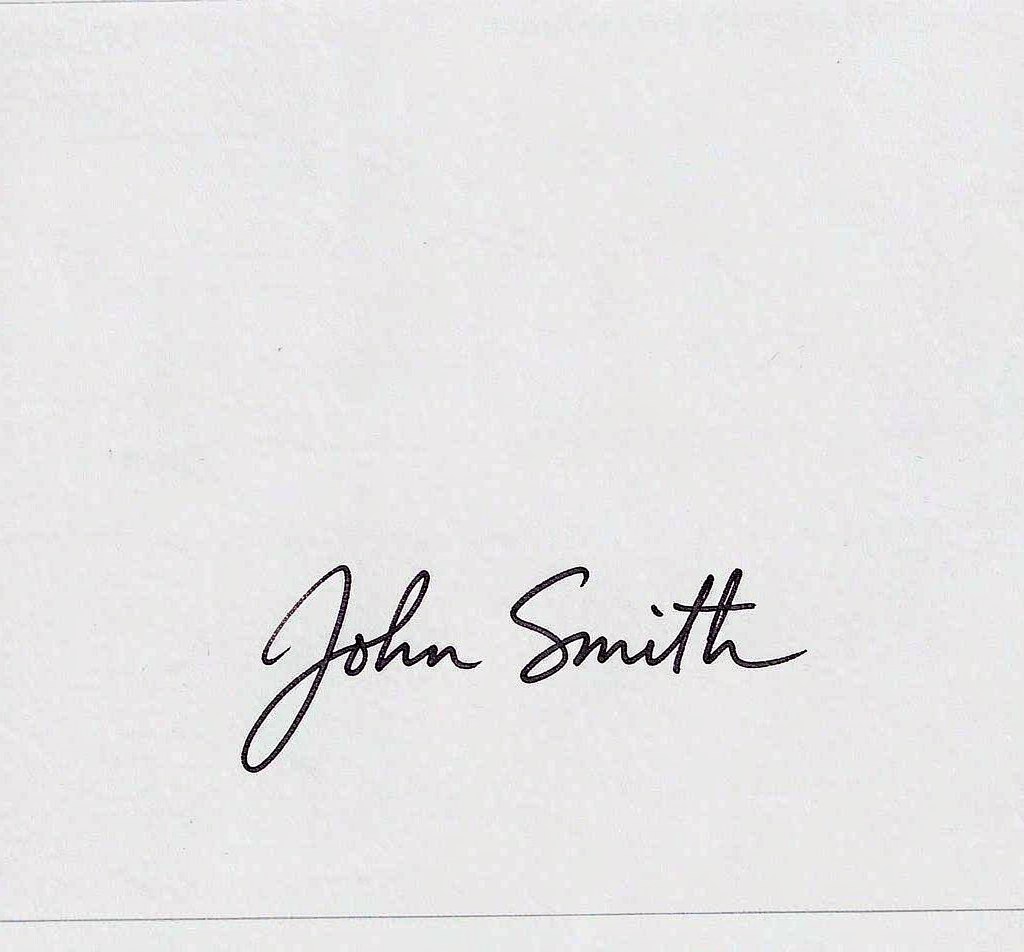
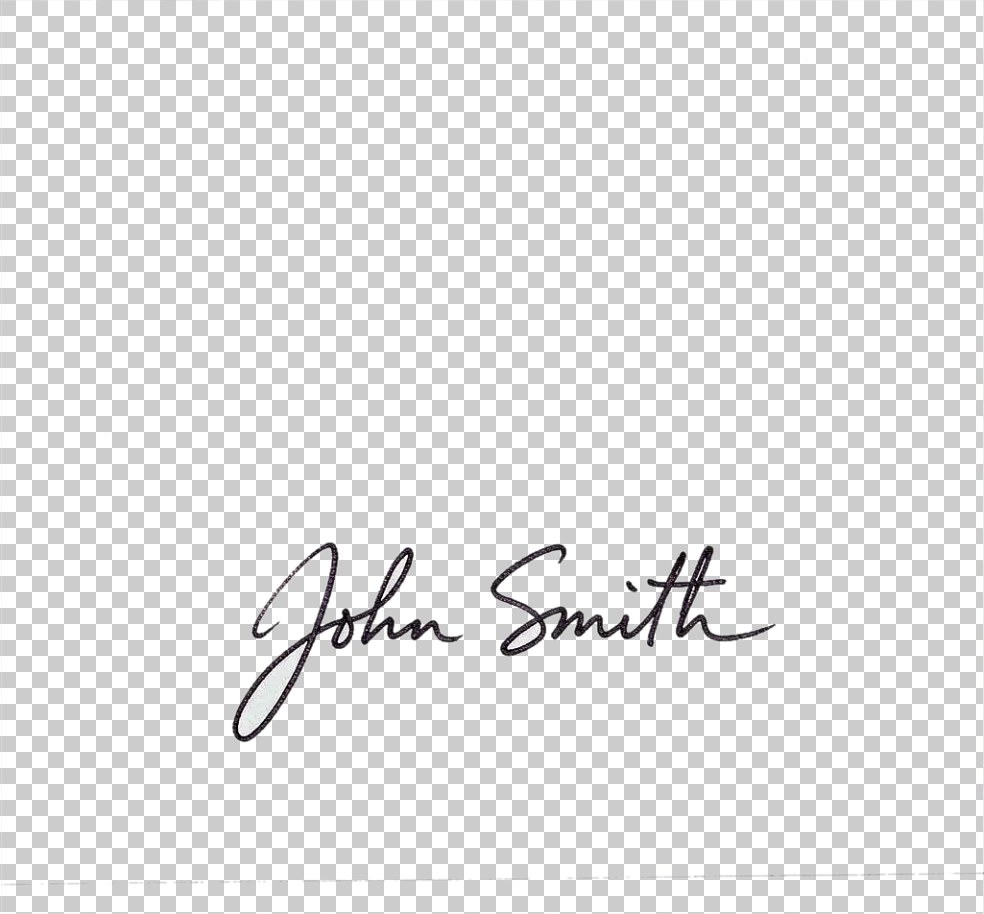
Drop the photo into the editor and crop to the signature with a small margin — 10–20 px around the strokes is enough. Cropping tight is not cosmetic: the Magic Eraser in the next steps has less paper to clear, and any uneven lighting at the edges of the original frame gets thrown away before it causes trouble.
Open Effects → Common Filters → Grayscale and apply it at Percentage 100. This removes the yellow or blue tint in one pass and turns "paper with a colour cast" into "paper with a brightness problem", which is much easier to fix. If the ink is blue and you want to keep a trace of it, run Grayscale at 80 instead of 100 — the strokes stay slightly cool while the paper loses its tint.
Choose Image → Color Corrections. The dialog has brightness, contrast, saturation and hue, plus separate Red, Green and Blue channel sliders. Raise Brightness until the paper is nearly white, then add Contrast until the strokes go dark and the paper flattens out. Watch the stroke ends while you do it: they are the thinnest part of the ink and the first thing to break up when contrast goes too far.
The RGB channels are the precise tool here. If the paper still has a warm cast after grayscale, pull Red down a few points and it evens out without touching the stroke darkness. Image → Auto Adjust Colors is the fast alternative, but it targets a fixed white point and will happily blow out a pale signature, so check the result at 200% before accepting it.
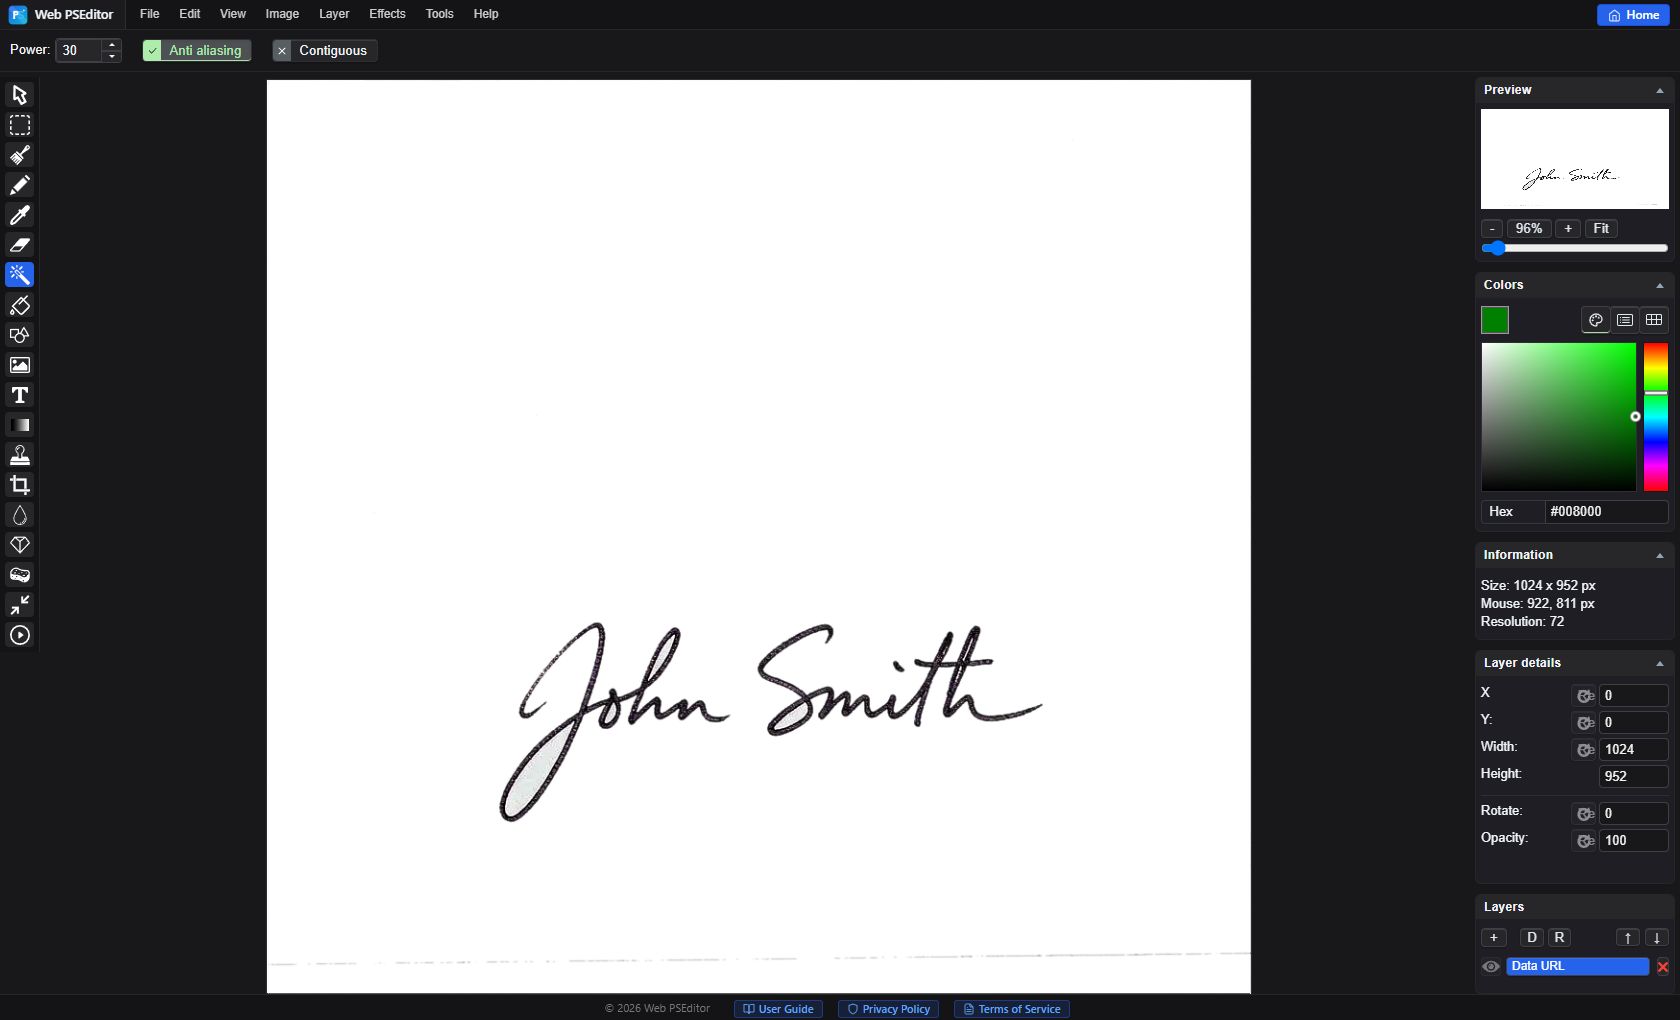
Take the Magic Eraser Tool, set Power to 20–40 and click an area of clean paper. Everything within tolerance of that colour becomes transparent, and the checkerboard confirms it. Click any remaining patches — corners, the shadowed edge — until only the strokes are left.
Then export with File → Export and choose PNG. (File → Save As writes a project file, not an image.) JPG has no alpha channel, so a JPG export fills the background with white and undoes the entire exercise.
Erase or Blend: Two Different Answers
| Method | Best for | What it actually does |
|---|---|---|
| Magic Eraser + PNG | A reusable signature for Word, PDF and e-sign platforms | Deletes the paper pixels and writes a real alpha channel — the file works anywhere |
| Multiply blend | Placing a signature over a document inside this editor | White stops showing because it is multiplied by what is underneath; nothing is deleted, and the file is not transparent |
| Eraser (manual) | Signatures on lined, ruled or shadowed paper where colour matching fails | Paint transparency along the strokes with a small brush at 200% zoom |
The distinction matters when the file leaves the editor. A Multiply stack exported as JPG looks correct on that document and shows a white box everywhere else. If the signature will be reused, erase and export PNG.
Getting a Clean Stroke
Two problems account for most bad extractions, and both start at the camera. Shooting at an angle makes the stroke weight uneven across the signature, because one end is closer to the lens; shooting with a lamp on one side leaves a gradient across the paper that no single tolerance can clear. Flat, even light and a straight-down shot turn the rest of the workflow into two clicks.
The other problem is over-processing. Every contrast boost widens the gap between paper and ink, and past a point the thin upstrokes break into disconnected dots. If the signature has to look like ink rather than vector, stop pushing contrast when the paper turns white and accept a slightly grey background — the Magic Eraser can clear a light grey, but it cannot reconnect a broken stroke.
- Photographing at an angle — uneven stroke weight and a lighting gradient that colour matching cannot fix.
- Power set too low on greyish paper — leaves ghost patches of semi-transparent paper. Raise it to 30–40 and click again.
- Over-boosting contrast — thin stroke ends break apart. Check at 200% before erasing.
- Exporting as JPG — transparency is discarded. Always PNG.
- Looking for an Adjustments or Levels menu — they do not exist here. Grayscale lives under Effects → Common Filters; brightness, contrast and the RGB channels live under Image → Color Corrections.
Quick Answers
How far can I push contrast before the strokes break?
Stop when the paper is white and the strokes are continuous — not when they are black. Zoom to 200% and look at the thinnest upstroke: if it is still one line, you have room; if it has started to dot, back the contrast off a few points. A slightly grey background is easier to fix than a broken stroke.
Why is there a grey halo around the strokes?
Those are the anti-aliased pixels at the edge of the ink — part paper, part ink — and they fall outside the tolerance so the eraser leaves them. Drop Power to 10–12 and click the halo directly, or clean it with the Eraser at a small brush size. Raising Power to remove the halo also eats the stroke, which is why the low-Power second pass is the better move.
Can I reuse one signature at different sizes?
Yes. A PNG with an alpha channel scales cleanly down, and up to about 150% before the edges soften noticeably. Keep the exported file at the largest size you expect to need rather than enlarging a small one later, and keep the layered original so you can re-export at a different resolution instead of rescaling an already exported file.
Related Tutorials
Extract one signature, drop the PNG onto a dark background to check the halo, then place it over a PDF page at 60% size.