Layers & Blend Modes: A Practical Guide
A blend mode answers one question: when two layers overlap, which pixels win? Every mode in the list is a different rule for combining the top layer's colour with the one underneath, and the useful ones can be counted on one hand. What trips people up is not the number of options — it is that the list mixes two unrelated families of operation in the same dropdown.
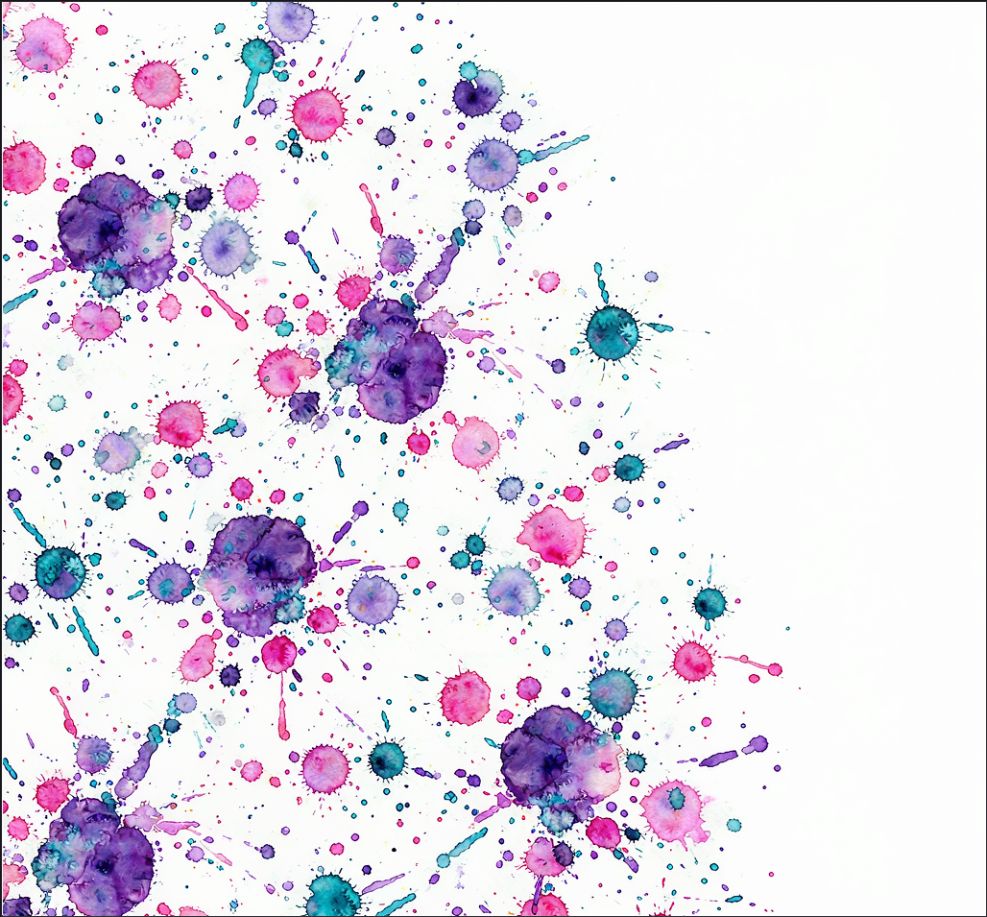

Open the base image, then drag a second image — texture, light leak, sketch — onto the canvas. It lands as a new layer on top, and the layers panel lists both. Order matters more than most people expect: the mode uses the layer below as its backdrop, so moving a layer up or down changes the result without changing any setting.
Select the top layer and choose Layer → Composition. The dialog lists every mode and previews the result on the canvas behind it, so you can compare without committing.
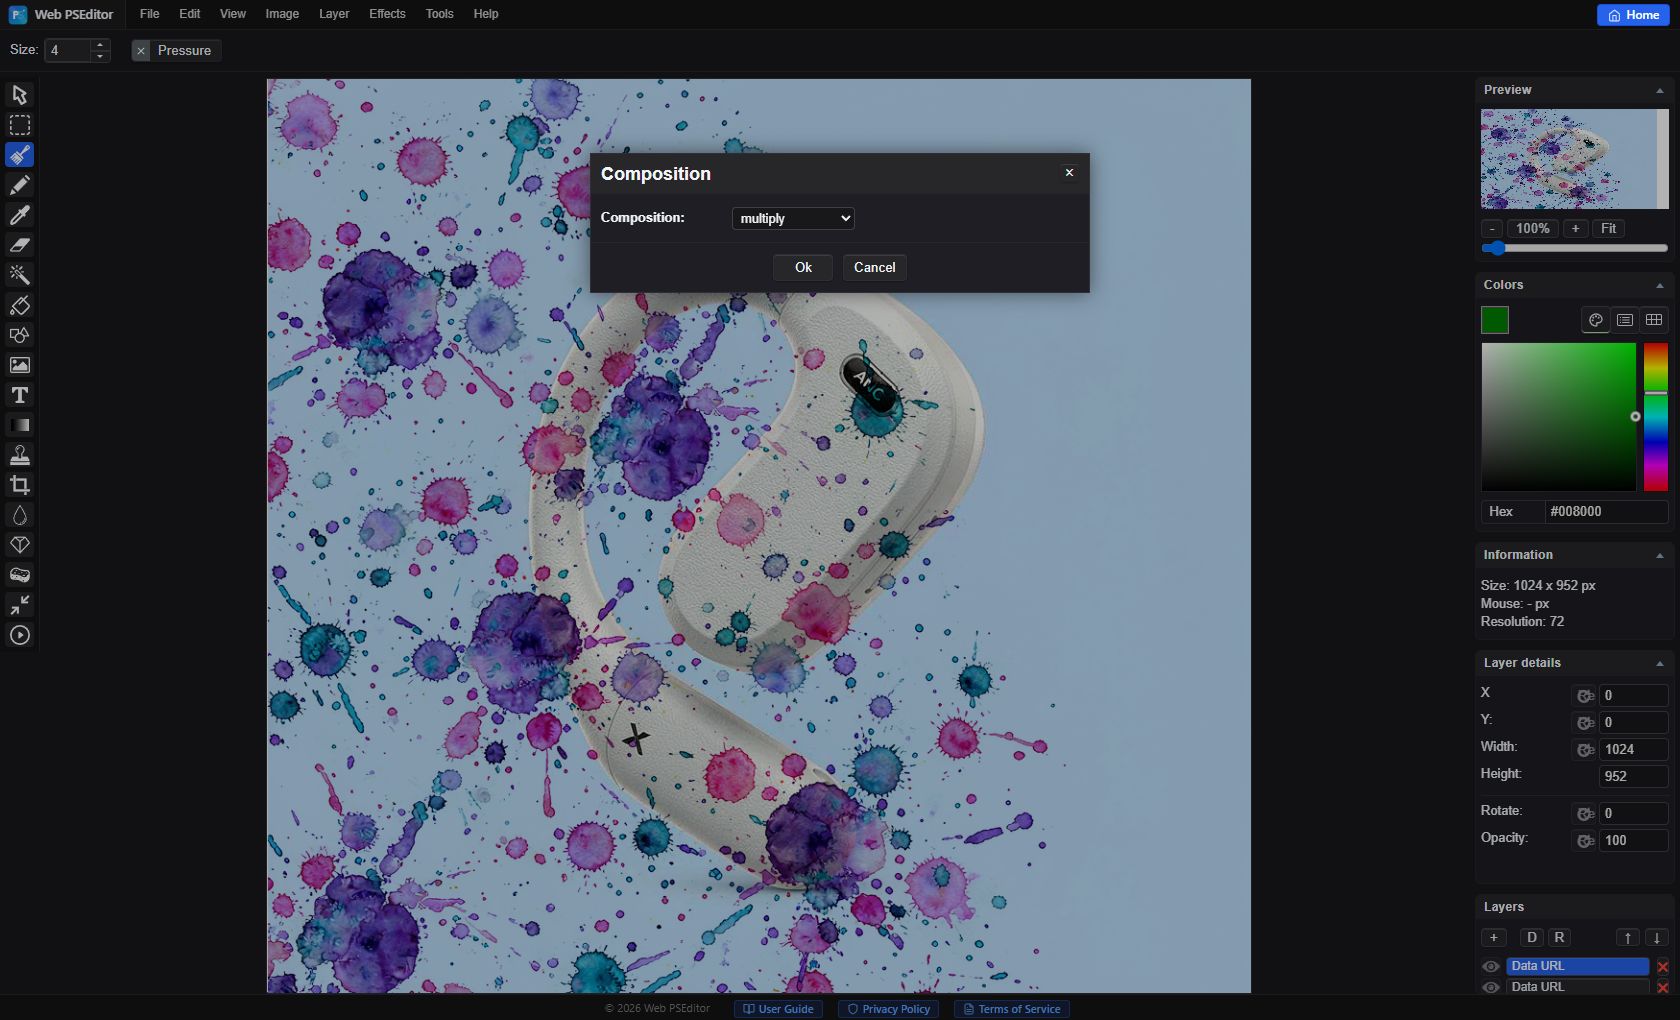
Choose multiply to drop white, screen to drop black, or overlay for contrast. Confirm, and the layers stay separate — the mode is a property of the layer, not a pixel operation, so you can change it later or turn it off entirely.
Two Families, One Dropdown
Roughly half the entries in that list are colour maths: multiply, screen, overlay, darken, lighten, soft-light, hard-light, difference, exclusion, hue, saturation, color, luminosity. They combine the colours of two layers and both layers remain visible.
The other half are compositing operations, inherited from the canvas API: source-over, destination-out, source-atop, destination-in, xor and friends. These do not mix colour at all — they decide whether a pixel is drawn. destination-out on a top layer punches a hole through everything below it, which makes it a surprisingly effective way to cut a shape out of a stack. Confusing the two families is why people scroll the list, pick something that sounds right, and get a transparent rectangle.
The Modes Worth Memorising
| Mode | What it does | Classic use |
|---|---|---|
| Multiply | Multiplies the colours, so white becomes invisible and dark stays dark | Signatures, line art and sketches over a document, without erasing the white |
| Screen | The inverse of Multiply: black disappears, highlights add up | Sparks, lens flares, smoke and bokeh from black-background overlays |
| Overlay | Multiply in the shadows, Screen in the highlights | Textures and grain that need to bite without flattening mid-tones |
| Soft Light | A gentler Overlay | Warm tone washes, subtle paper texture on portraits |
| Difference | Subtracts the layers, inverting the overlap | Checking alignment between two versions of the same photo |
Multiply Is Not Transparency
The most common misunderstanding: putting a signature on a white background over a document with Multiply makes the white disappear, so it looks transparent. It is not. The white pixels are still there — they were multiplied by the document underneath, and since anything multiplied by its backdrop stays unchanged, white is the one colour that leaves no trace.
That matters the moment the file leaves this stack. Export as JPG and the flattened result is fine. But if you later place that image on a dark background, or print it, the white returns as a pale box, because the underlying layer is gone. If you need a genuinely transparent signature, cut the background out first and export PNG — Multiply is a compositing shortcut, not a replacement for an alpha channel.
When Opacity Beats Mode-Switching
A mode is a curve, not a strength dial. If Multiply lands too heavy, the fix is the layer's Opacity, not a different mode: at 60–80% you keep the texture and lose the mud. The same is true of Screen on a light leak and Overlay on grain. Switching modes to "fix" intensity is how a texture ends up looking like neither effect.
Layer order interacts with this. A texture under the photo does nothing at all; the same texture above it at 40% opacity reads as grain. Before changing any setting, confirm which layer is selected — the Composition dialog applies to the highlighted layer only, and applying Multiply to the base photo instead of the texture darkens the entire image with nothing to blend against.
Pitfalls That Show Up at Export
- Blending the wrong layer — the mode applies to the selected layer, using what is beneath it as backdrop. Check the highlight in the layers panel first.
- Flattening too early — merge and the mode is baked into the pixels. Keep layers separate until the export is final.
- Using JPEG overlays — compression halos around black and white areas become visible once blended. Use PNG for overlays.
- Expecting Multiply to create transparency — it hides white against the current backdrop only. Export PNG from a real cutout if you need an alpha channel.
- Picking a compositing operation by accident — entries like destination-out do not blend colour; they erase. Read the list before confirming.
Quick Answers
What happens if I apply Multiply to the wrong layer?
The mode is attached to whichever layer is selected, and it blends against the layer underneath. Applied to the base photo, there is nothing beneath it, so the image simply darkens — the result looks like a bad exposure rather than a blend. Press Ctrl + Z, select the texture layer, and open Composition again.
Which mode removes a white background from a signature?
Multiply. White multiplied by the document underneath stays unchanged, so the paper around the strokes disappears visually. It does not create transparency: export the stack as PNG only after cutting the background out, otherwise the white reappears the moment the image sits on a dark surface.
Why does my texture look flat after Multiply?
Multiply can only darken, so a low-contrast texture flattens the photo instead of adding character. Raise the texture's own contrast first (Image → Color Corrections), or switch to Overlay, which preserves highlights. If the texture is a scan, the paper white is often grey rather than white — a levels-style boost before blending fixes most of it.
Related Tutorials
Blend one black-background overlay with Screen and one white-background overlay with Multiply, then drop each to 60% opacity and compare.