One-Click Filters: Black & White, Vintage & Cinematic
The same photo with the right filter becomes a completely different story: the restraint of black & white, the warmth of vintage, the drama of cinematic teal-and-orange. Filters are the cheapest way to make an image "pop". Web PSEditor ships with multiple one-click effects, all rendered locally in real time — experimenting costs nothing and undo is instant.
What a Filter Actually Changes
Most presets stack three separate operations: a tone split that pushes shadows one way and highlights another, a contrast curve that lifts or crushes the midtones, and a local touch such as a vignette, grain, or a slight blur at the frame edge. Once you know which of the three you are actually looking at, you can keep the part you like and drop the part that ruins the photo.
This matters because every preset was tuned on someone else's reference image. A vintage look built on a correctly exposed daylight shot will smear an indoor photo taken at ISO 3200, where the shadows already carry noise. The preset did not change; the input did. That is the single reason one-click results look great on the sample and wrong on your file.
Treat the filter as a starting position. Apply it, then ask three questions in order: is the colour direction right, is the contrast right, is the strength right. Fix them in that order and you will almost never need to hunt for a different preset.
Four Popular Looks at a Glance
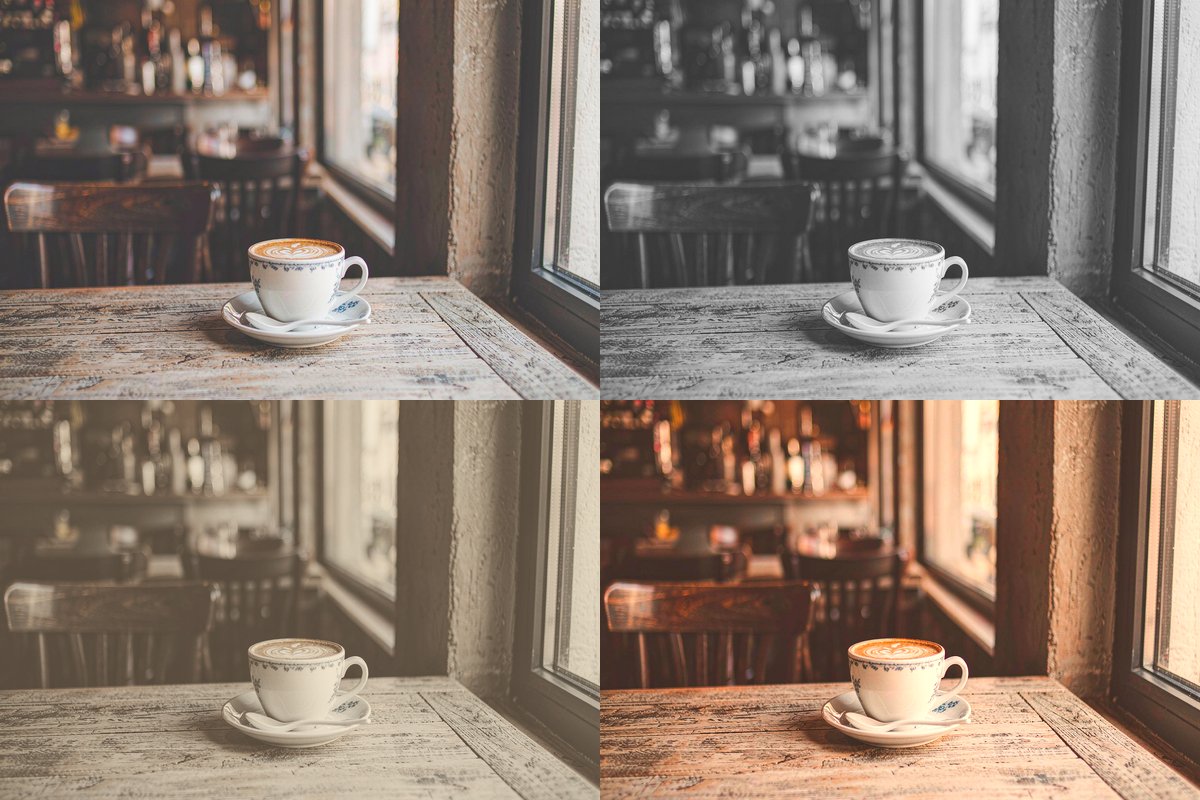
How to Apply
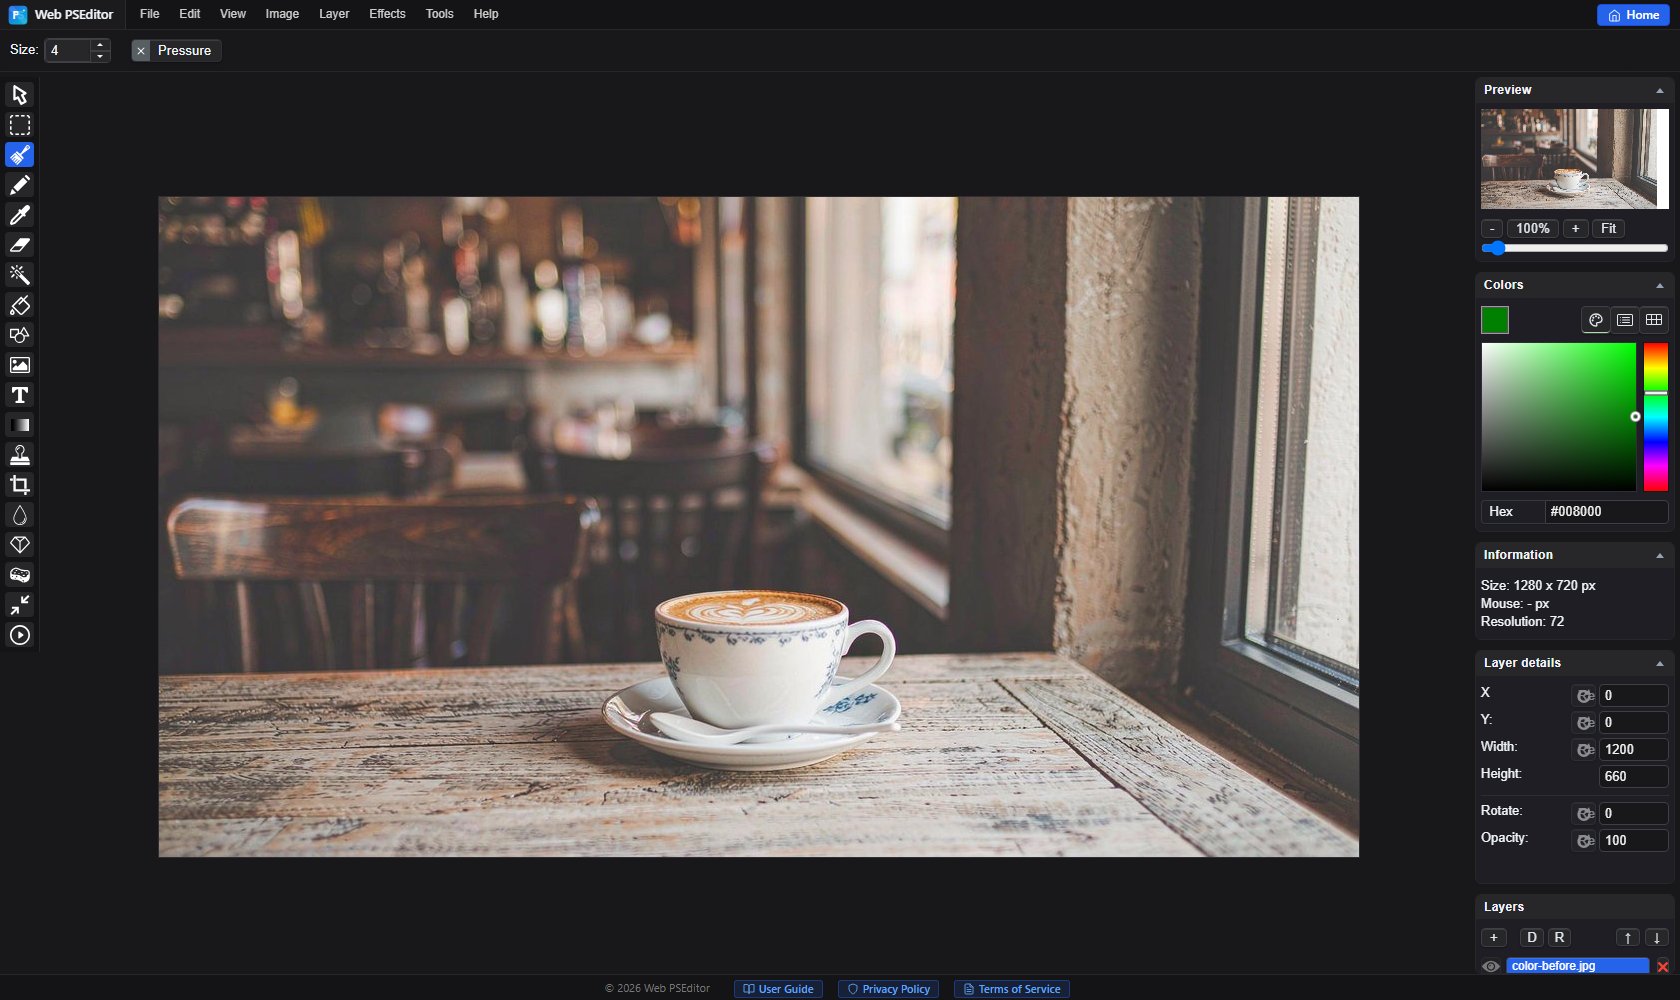
Open a photo and pick from the Effects menu:
1. Black & White: Effects → Common Filters → Grayscale — its Percentage slider lets you stop at 80 instead of flat grey, which keeps a little colour in the skin.
2. Vintage: Effects → Vintage or Effects → Common Filters → Sepia for an instant film vibe.
3. Cinematic: Effects → Instagram Filters (Lo-fi, Valencia, Clarendon) gives the higher-contrast teal-and-orange direction without manual curves.
Most one-click presets land too strong. The dialogs for Vintage, Grayscale, Vignette and Grains each carry a Level or Percentage slider with a live preview — pull Vintage down to 50–70 and watch the skin before you confirm. The Instagram presets (Lo-fi, Valencia, Clarendon) have no slider: they bake in at full strength, so duplicate the layer first (Layer → Duplicate), apply the preset to the copy, then lower that layer's opacity in the layer panel.
Finish with Effects → Vignette (Level around 0.3–0.5, Size 0.5) to pull the eye inward, then Effects → Grains at Level 20–30 for the film feel. Both are strong at default settings; check them at 100% zoom rather than in a fitted preview, where grain looks like nothing and a vignette looks like everything.
Save the result with File → Export as JPG. For social media, a long edge of 1080–1280 px balances sharpness and file size. Keep the layered original if you plan to reuse the same grade on a series — re-exporting from the exported file compounds the compression.
Matching a Look to the Subject
The look is not a matter of taste alone; some subjects survive a filter and others fall apart. A quick way to choose before you spend time grading:
- Portraits — black & white, or a very light warm grade. Colour casts show up on skin first, so anything stronger than a hint reads as a mistake rather than a style.
- Street and architecture — hard black & white with real blacks. Texture and geometry carry the frame, and colour usually competes with them.
- Product shots — no creative filter at all. Buyers compare colour, and a vintage cast turns a white mug cream. Clean the background instead.
- Food — warm highlights, slightly lifted saturation, nothing on the shadows. Cold tones make food look stale.
- Landscape and travel — a mild teal-orange split, plus a vignette only if the sky is empty. Heavy grain on a wide vista looks like a broken file at full size.
Building a Look in Layers
One preset applied at 100% is the amateur move; two or three passes at partial strength is what separates a graded image from a filtered one. The order below works for almost every subject:
Before any style, correct exposure and white balance with Image → Color Corrections or Image → Auto Adjust Colors. A filter on top of a green-cast photo produces a green-cast vintage photo, and no preset can undo that.
Duplicate the layer (Layer → Duplicate), apply the preset to the copy, then set the copy's opacity to roughly 50%. Keeping the untouched original underneath is what makes the strength adjustable at any point later — a preset applied directly to a single layer is baked in, and only Undo takes it back.
Before adding anything else, compare. Toggle the graded layer off and on (the eye icon in the layers panel) and look at both versions at fit-to-window size, which is how the image will actually be seen. If the difference only shows when you flick between them, the grade is at the right strength. If the flat version looks wrong next to it, you are still under-grading. Pick one and stop.
Five Ways Filters Go Wrong
- Stacking presets. Vintage plus Lo-fi plus a warm overlay is three colour shifts with no reference — the result drifts until nothing looks intentional. One style, one strength, then stop.
- Grading a compressed file. Applying a heavy curve to an already-compressed JPEG amplifies blocking in the shadows. Work from the original, export once.
- Ignoring skin. Check faces at 100%, not in the thumbnail. Orange palms and grey lips are the two most common giveaways.
- Crushing blacks for drama. Detail removed by contrast cannot be recovered later. Leave a little information in the darkest areas.
- Saving the preview instead of the file. Screenshotting the graded view and re-uploading it is how a good grade becomes a soft, striped image.
Quick Answers
Why does skin turn orange when I apply a vintage filter?
Vintage presets warm the shadows and cool the highlights, then raise split-tone saturation. Skin sits in the orange-red range already, so it takes a double hit and drifts orange while the background still looks fine. Set the Level slider in the Vintage dialog to 40–60 (it previews live), or apply the preset to a duplicated layer and lower that layer's opacity. Then erase the effect over faces so the skin keeps its original hue.
How much filter strength is too much?
If you can name the filter, it is too strong. On a Level or Percentage slider the useful range is roughly 40–70: the image reads as graded but nobody can point at a preset. Past 80 you start losing skin texture, shadows block up, and highlights clip to flat white with no recoverable detail.
How do I get a convincing black and white conversion instead of a flat grey one?
Desaturating alone averages the colour channels, which flattens everything that was distinguished only by hue. Convert with Effects → Common Filters → Grayscale, then fix tonal separation: if a blue sky and a grey roof land on the same brightness, darken the sky or lighten the roof before or after the conversion. Add contrast last, in small steps, so you do not crush the shadows you just separated.
Related Tutorials
Open the editor and try the black & white or cinematic filter on your own photo.